Cockpit is an easy-to-use, lightweight, and simple yet powerful remote manager for GNU/Linux servers, it’s an interactive server administration user interface that offers a live Linux session via a web browser.
It can run on several RHEL-based Linux distributions and Debian derivatives including Ubuntu, Linux Mint, Fedora, CentOS, Rocky Linux, AlmaLinux, Arch Linux among others.
Cockpit makes Linux discoverable thereby enabling system administrators to easily and reliably carry out tasks such as starting containers, managing storage, network configurations, log inspections coupled with several others.
[ You might also like: 20 Command Line Tools to Monitor Linux Performance ]
While using it, users can easily switch between the Linux terminal and web browser without any hustles. Importantly, when a user starts a service via Cockpit, it can be stopped via the terminal, and just in case of an error that occurs in the terminal, it is shown in the Cockpit journal interface.
Features of Cockpit:
- Enables managing of multiple servers in one Cockpit session.
- Offers a web-based shell in a terminal window.
- Containers can be managed via Docker.
- Supports efficient management of system user accounts.
- Collects system performance information using the Performance Co-Pilot framework and displays it in a graph.
- Supports gathering of system configuration and diagnostic information using sos-report.
- Also supports a Kubernetes cluster or an Openshift v3 cluster.
- Allows modification of network settings and many more.
How to Install Cockpit in Linux Systems
You can install Cockpit in all Linux distributions from their default official repositories as shown:
Install Cockpit on Fedora and CentOS
To install and enable Cockpit on Fedora distributions, use the following commands.
# yum install cockpit
# systemctl enable --now cockpit.socket
# firewall-cmd --add-service=cockpit
# firewall-cmd --add-service=cockpit --permanent
# firewall-cmd --reload
Install Cockpit on Rocky Linux and AlmaLinux
To install and enable Cockpit on Rocky/AlmaLinux distributions, use the following commands.
# yum install cockpit
# systemctl enable --now cockpit.socket
# firewall-cmd --add-service=cockpit
# firewall-cmd --add-service=cockpit --permanent
# firewall-cmd --reload
Install Cockpit on RHEL
Cockpit is added to the Red Hat Enterprise Linux Extras repository from versions 7.1 and later:
# yum install cockpit
# systemctl enable --now cockpit.socket
# firewall-cmd --add-service=cockpit --permanent
# firewall-cmd --reload
Install Cockpit on Debian
The cockpit is included in Debian’s official repositories, and you can install it using the following commands.
# apt-get update
# apt-get install cockpit
# mkdir -p /usr/lib/x86_64-linux-gnu/udisks2/modules
# ufw allow 9090
# ufw allow 80
Install Cockpit on Ubuntu and Linux Mint
In Ubuntu and Linux Mint distributions, Cockpit is not included, but you can install it from the official Cockpit PPA by executing the following commands:
$ sudo add-apt-repository ppa:cockpit-project/cockpit
$ sudo apt-get update
$ sudo apt-get install cockpit
$ sudo systemctl enable --now cockpit.socket
Install Cockpit on Arch Linux
Arch Linux users can install Cockpit from the Arch User Repository using the following command.
# yaourt cockpit
# systemctl start cockpit
# systemctl enable cockpit.socket
How to Use Cockpit in Linux
After Cockpit is installed successfully, you can access it using a web browser at the following locations.
https://ip-address:9090
OR
https://server.domain.com:9090
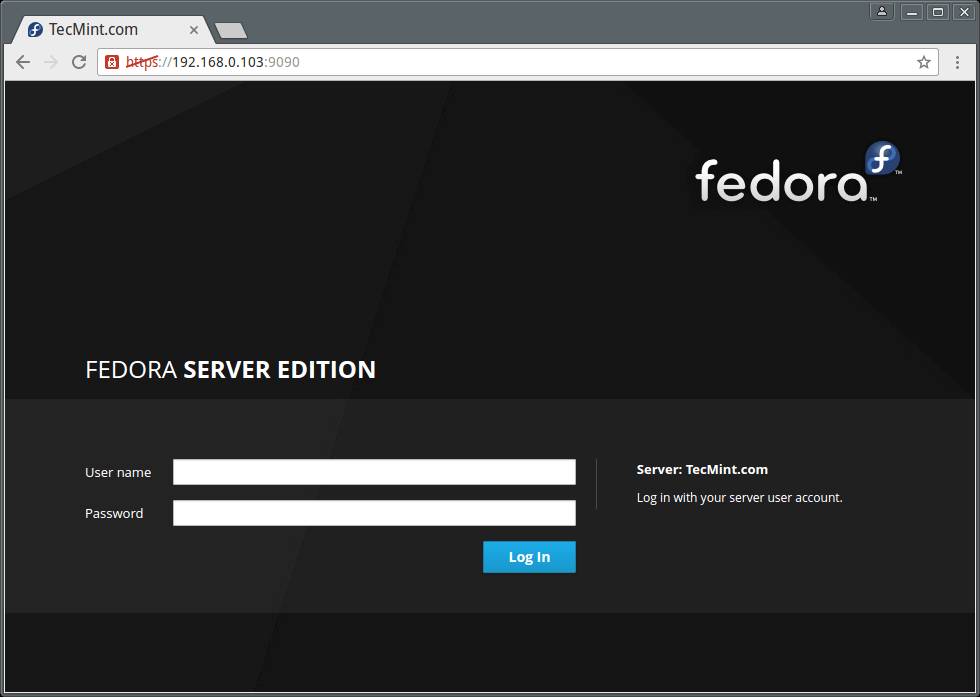
Enter system username and password to login in the interface below:
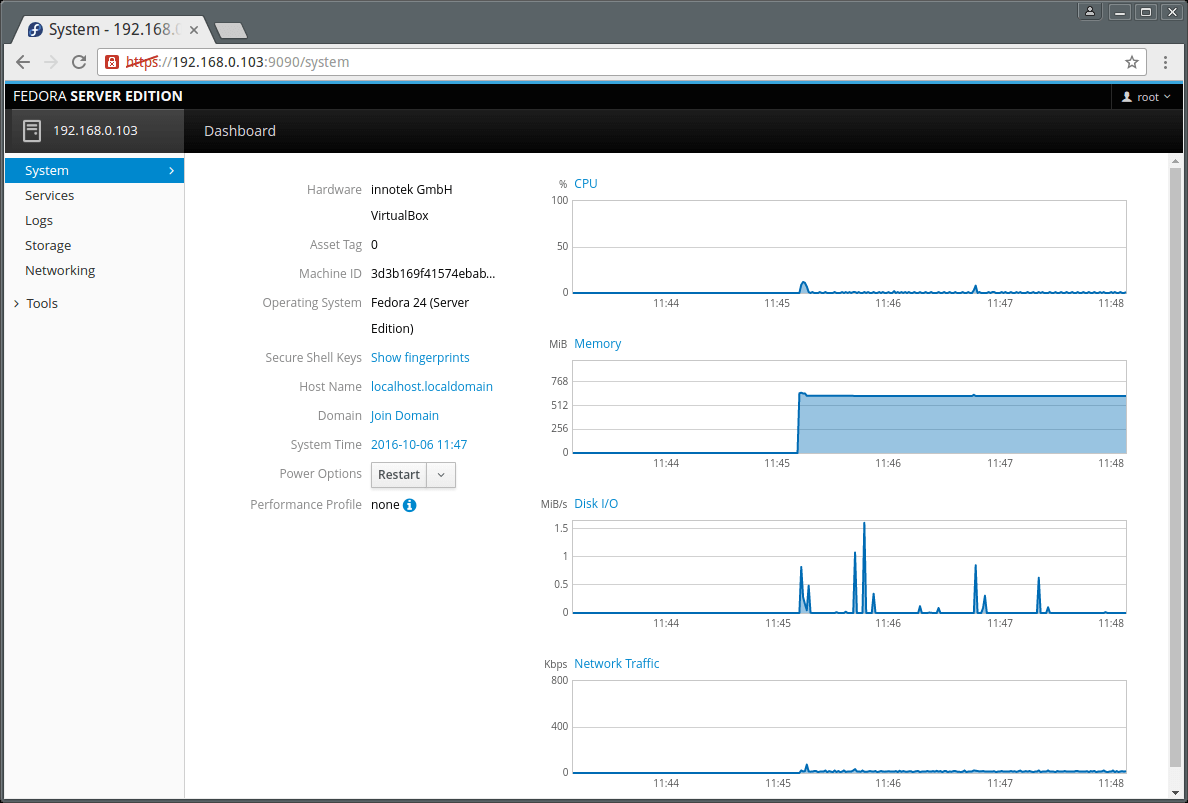
After logging in, you will be presented with a summary of your system information and performance graphs for CPU, Memory, Disk I/O, and Network traffic as seen in the next image:
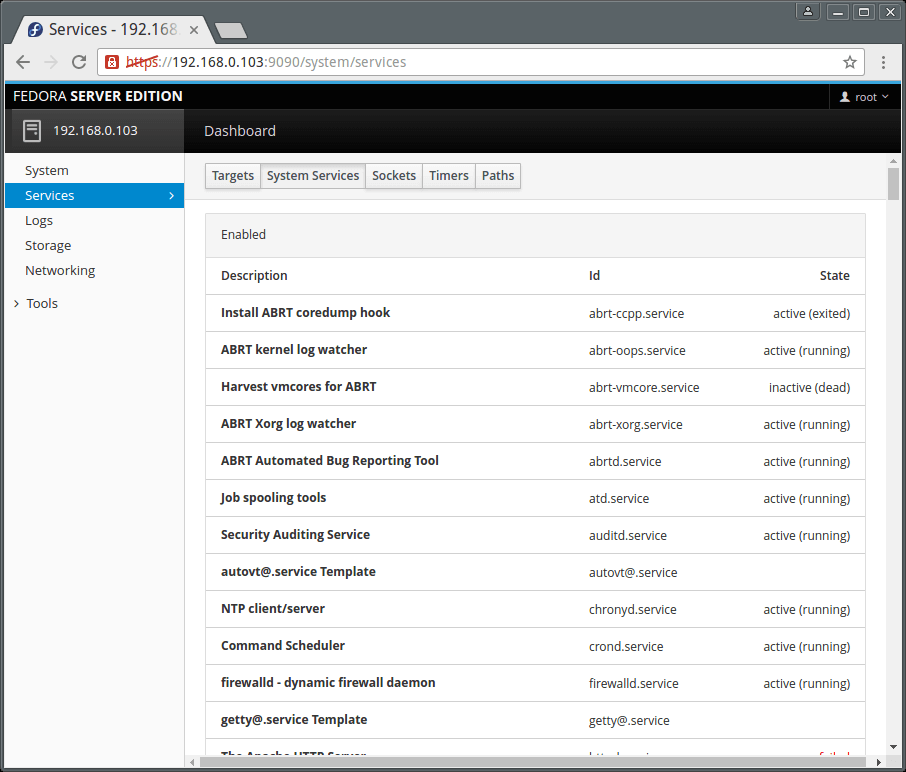
Next on the dashboard menu, is Services. Here you can view Targets, System Services, Sockets, Timers, and Paths pages.
The interface below shows running services on your system.
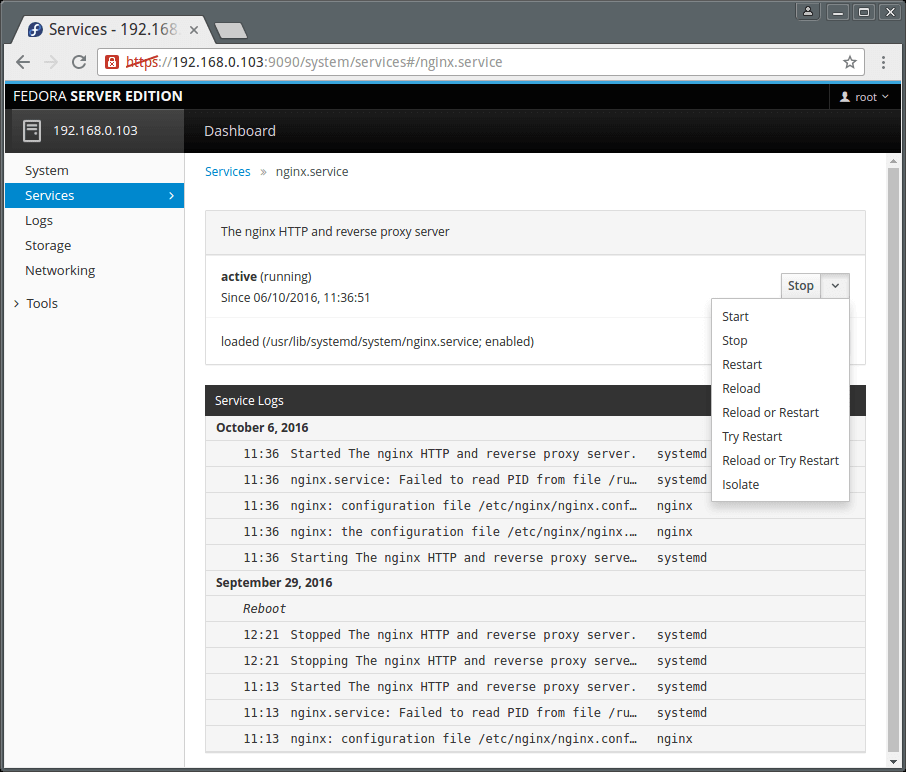
You can click on a single service to manage it. Simply click on the drop-down menus to get the functionality you want.
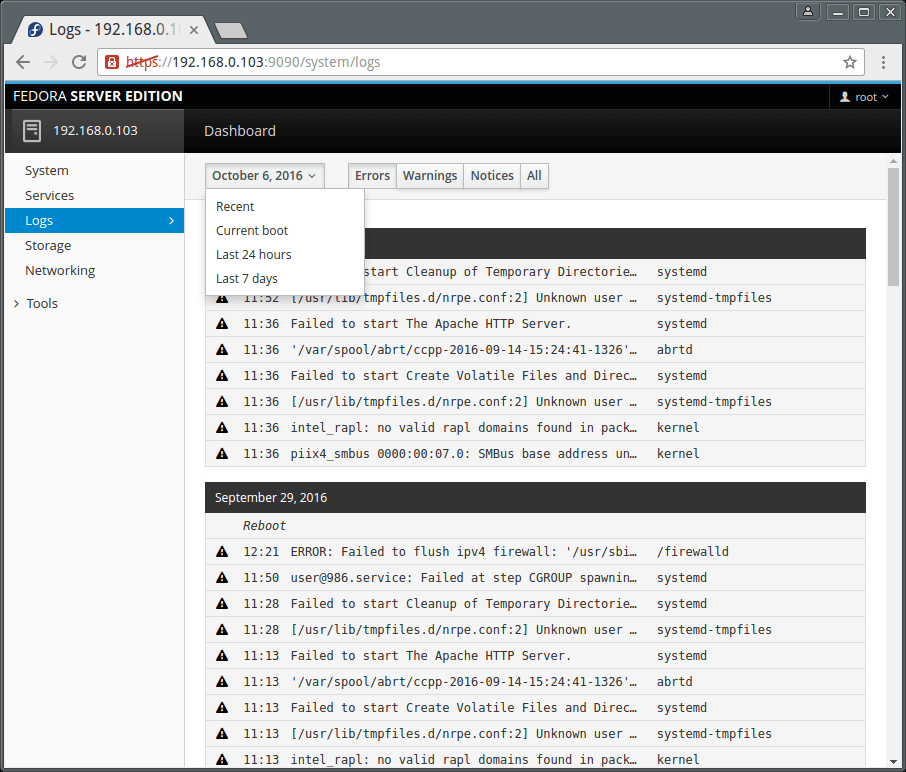
The Logs menu item displays the logs page which allows for logs inspection. The logs are categorized into Errors, Warnings, Notices, and All as in the image below.
Additionally, you can as well view logs based on time such as logs for the last 24HRs or 7 days.
Suggested Read: 4 Best Log Monitoring and Management Tools for Linux
To inspect a single log entry, simply click on it.
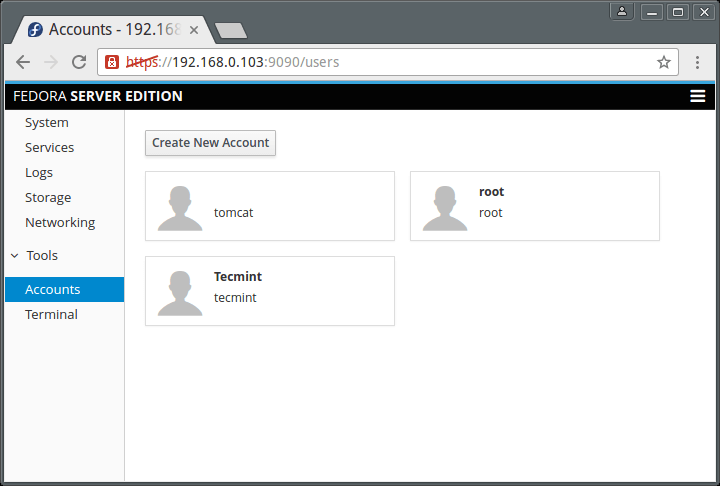
Cockpit also enables you to manage user accounts on the system, go to Tools and click on Accounts. Clicking on a user account allows you to view the user’s account details.
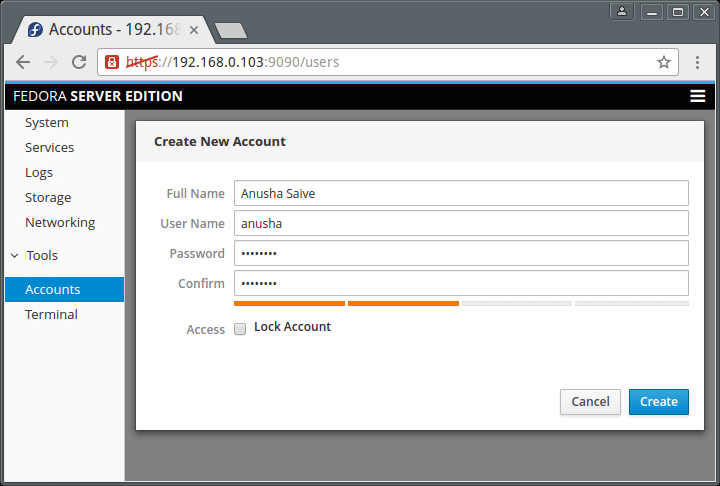
To add a system user, click on the “Create New Account” button and enter the necessary user information in the interface below.
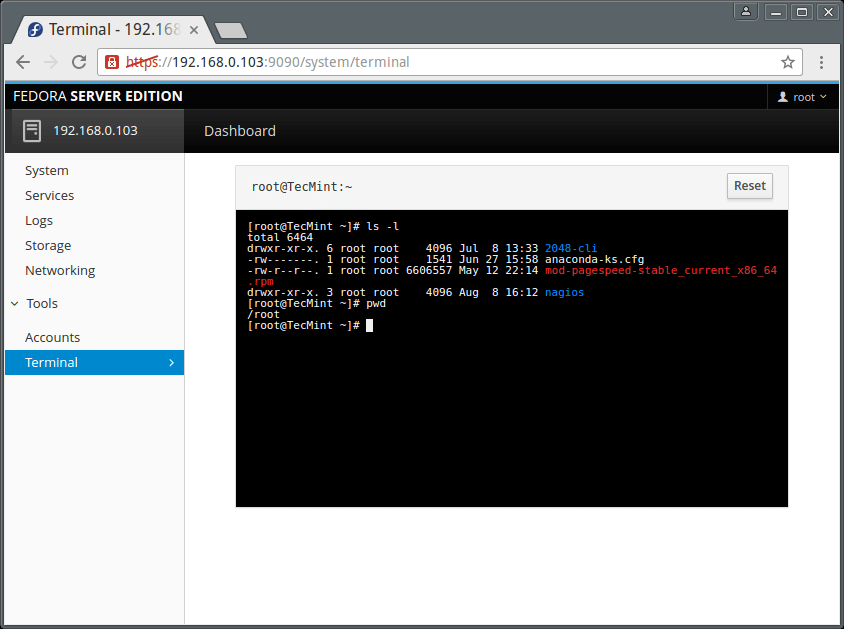
To get a terminal window, go to Tools → Terminal.
How to Add Linux Server to Cockpit
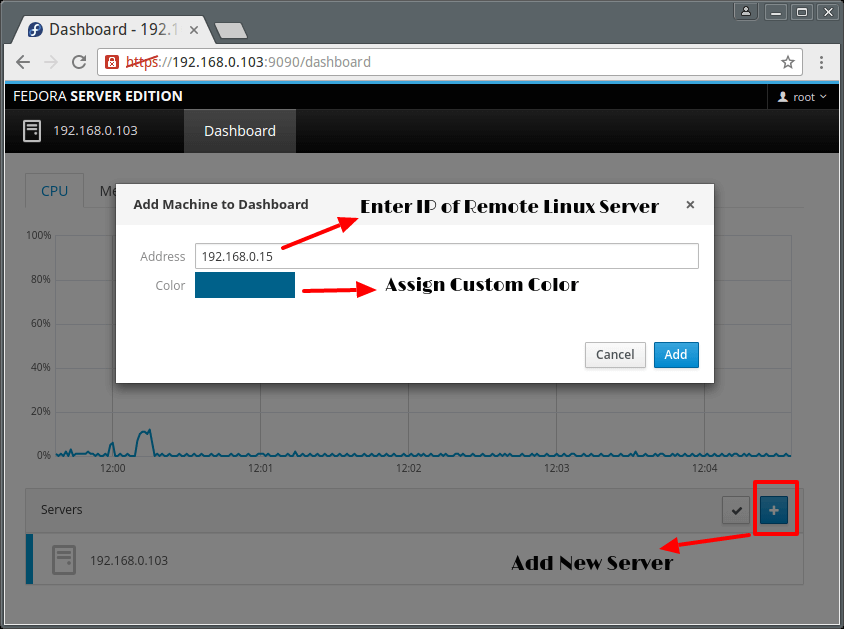
Important: Be aware that you must install Cockpit on all remote Linux servers in order to monitor them on the Cockpit dashboard. So, please install it before adding any new server to Cockpit.
To add another server, click on dashboard, you will see the screen below. Click on the (+) sign and enter the server IP address. Remember that information for each server you add is displayed in Cockpit using a distinct color.
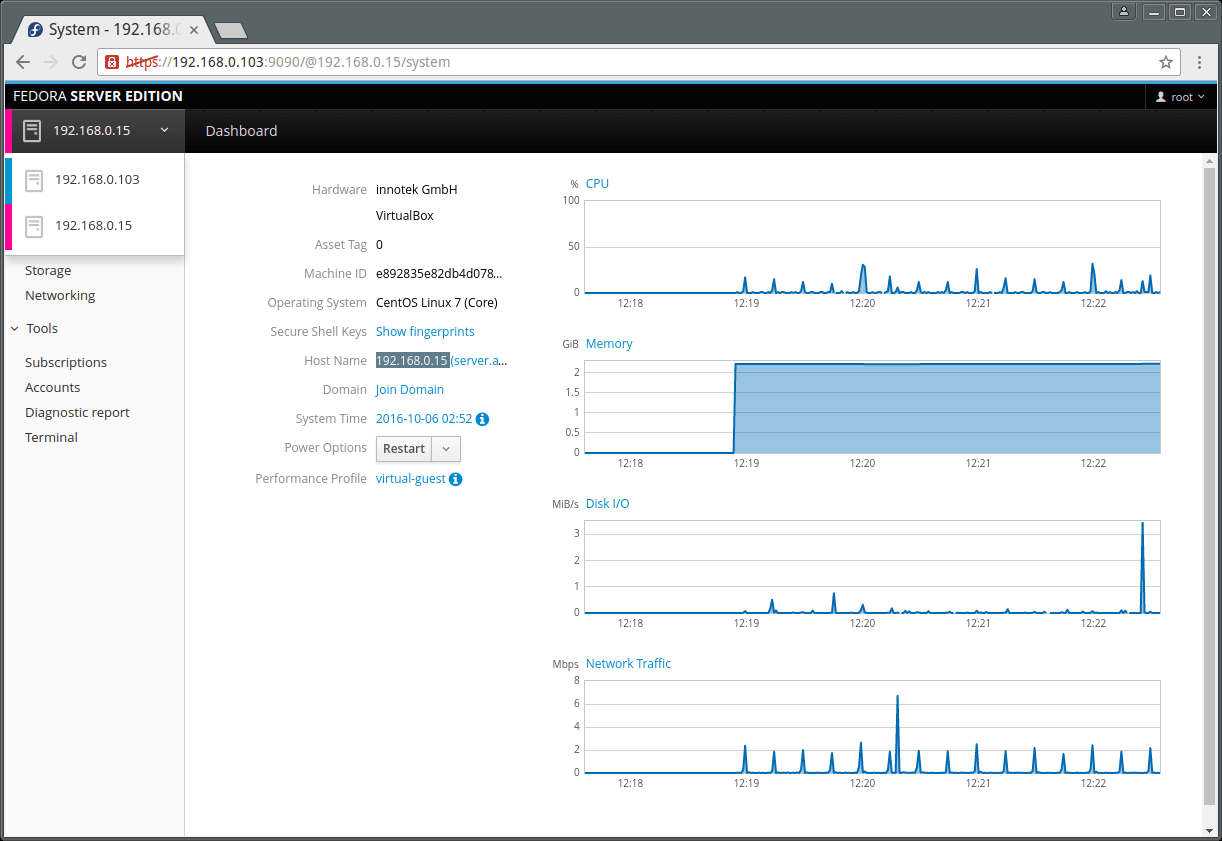
Same way, you can add many Linux servers under Cockpit and manage them efficiently without any trouble.
That is it for now, however, you can explore more in case you have installed this simple and wonderful server, remote manager.
Cockpit Official Documentation: http://cockpit-project.org/guide/latest/
For any questions or suggestions as well as feedback on the topic, do not hesitate to use the comment section below to get back to us.
