Setting up a hostname is one of the quintessential tasks when setting up a server. A hostname is a name that is assigned to a PC in a network and helps in uniquely identifying it.
There are various ways of setting up a hostname in CentOS/RHEL 8 and we are going to look at each in turn.
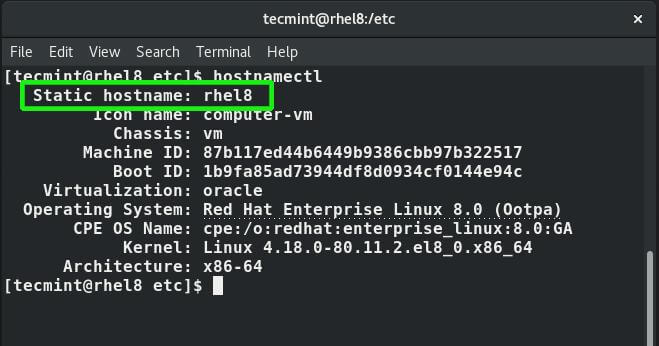
To display the system’s hostname, run the command.
$ hostname
Additionally, you can execute the hostnamectl command as shown:
$ hostnamectl
Setting a Hostname in RHEL 8
To configure a hostname, login and use the hostnamectl command as shown:
$ sudo hostnamectl set-hostname
For example, to set the hostname to tecmint.rhel8 execute the command:
$ sudo hostnamectl set-hostname tecmint.rhel8
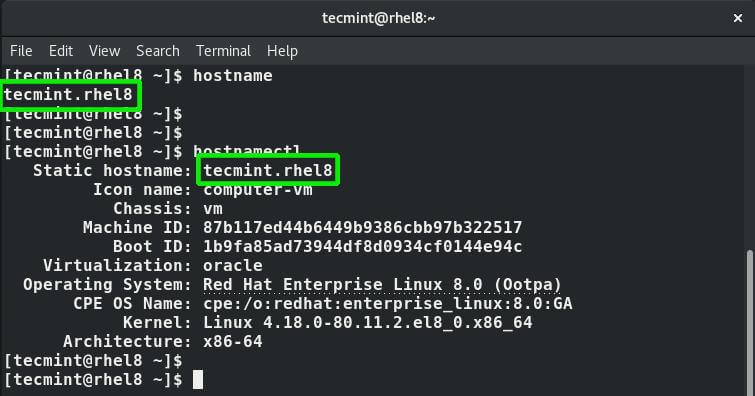
You can later verify if the new hostname has been applied to your system by running the hostname or hostnamectl commands.
$ hostname
$ hostnamectl
Next, add the record for the hostname in the /etc/hosts file.
127.0.0.1 tecmint.rhel8
This automatically adds an entry by default to the /etc/hostname file.
Save and exit the text editor.
Finally, restart the networking service for the changes to come into effect.
$ sudo systemctl restart NetworkManager
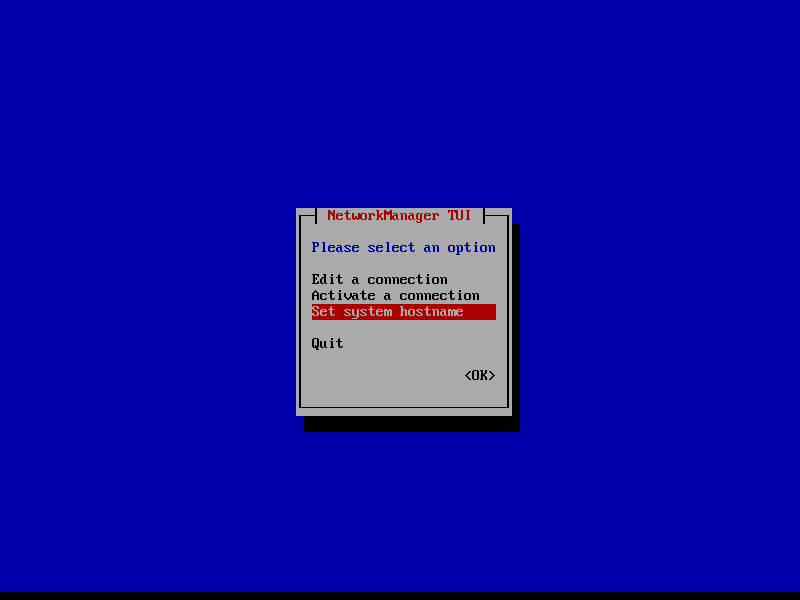
Alternatively, you can use nmtui command to set or change the hostname of your system as shown.
$ sudo nmtui
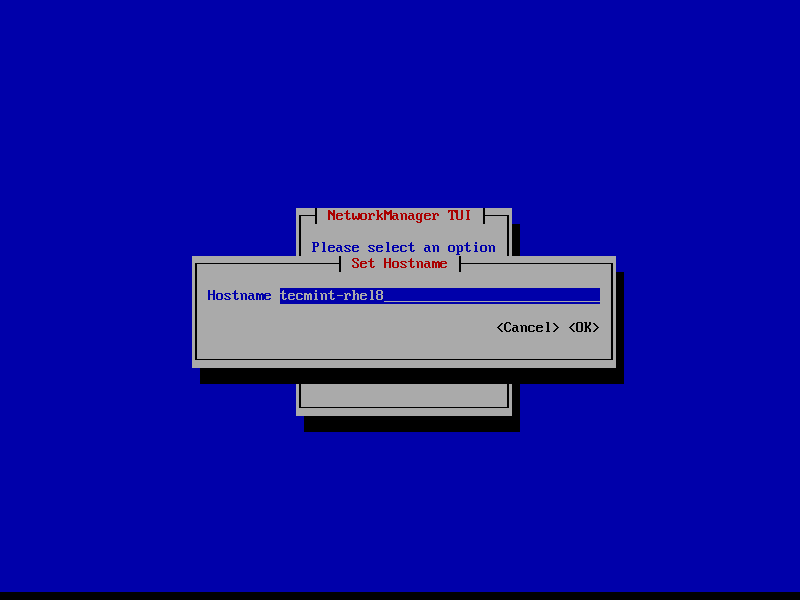
Enter your new hostname.
Finally, restart the systemd-hostnamed service to apply recent changes.
$ sudo systemctl restart systemd-hostnamed
And this concludes this guide on how to change or set a hostname on CentOS/RHEL 8. We hope you found this guide helpful.


