In our last article, we have discussed how to set up and run a Kubernetes Cluster, let’s discuss how we can deploy NGINX service on our cluster.
I will run this deployment on a Virtual Machine Hosted by a public cloud provider. As it is with many public cloud services, many generally maintain a public and private IP scheme for their Virtual Machines.
Testing Environment
Master Node - Public IP: 104.197.170.99 and Private IP: 10.128.15.195
Worker Node 1 - Public IP: 34.67.149.37 and Private IP: 10.128.15.196
Worker Node 2 - Public IP: 35.232.161.178 and Private IP: 10.128.15.197
Deploying NGINX on a Kubernetes Cluster
We will run this deployment from the master-node.
Let’s begin by checking the status of the cluster. All your nodes should be in a READY state.
# kubectl get nodes
We create a deployment of NGINX using the NGINX image.
# kubectl create deployment nginx --image=nginx
You can now see the state of your deployment.
# kubectl get deployments
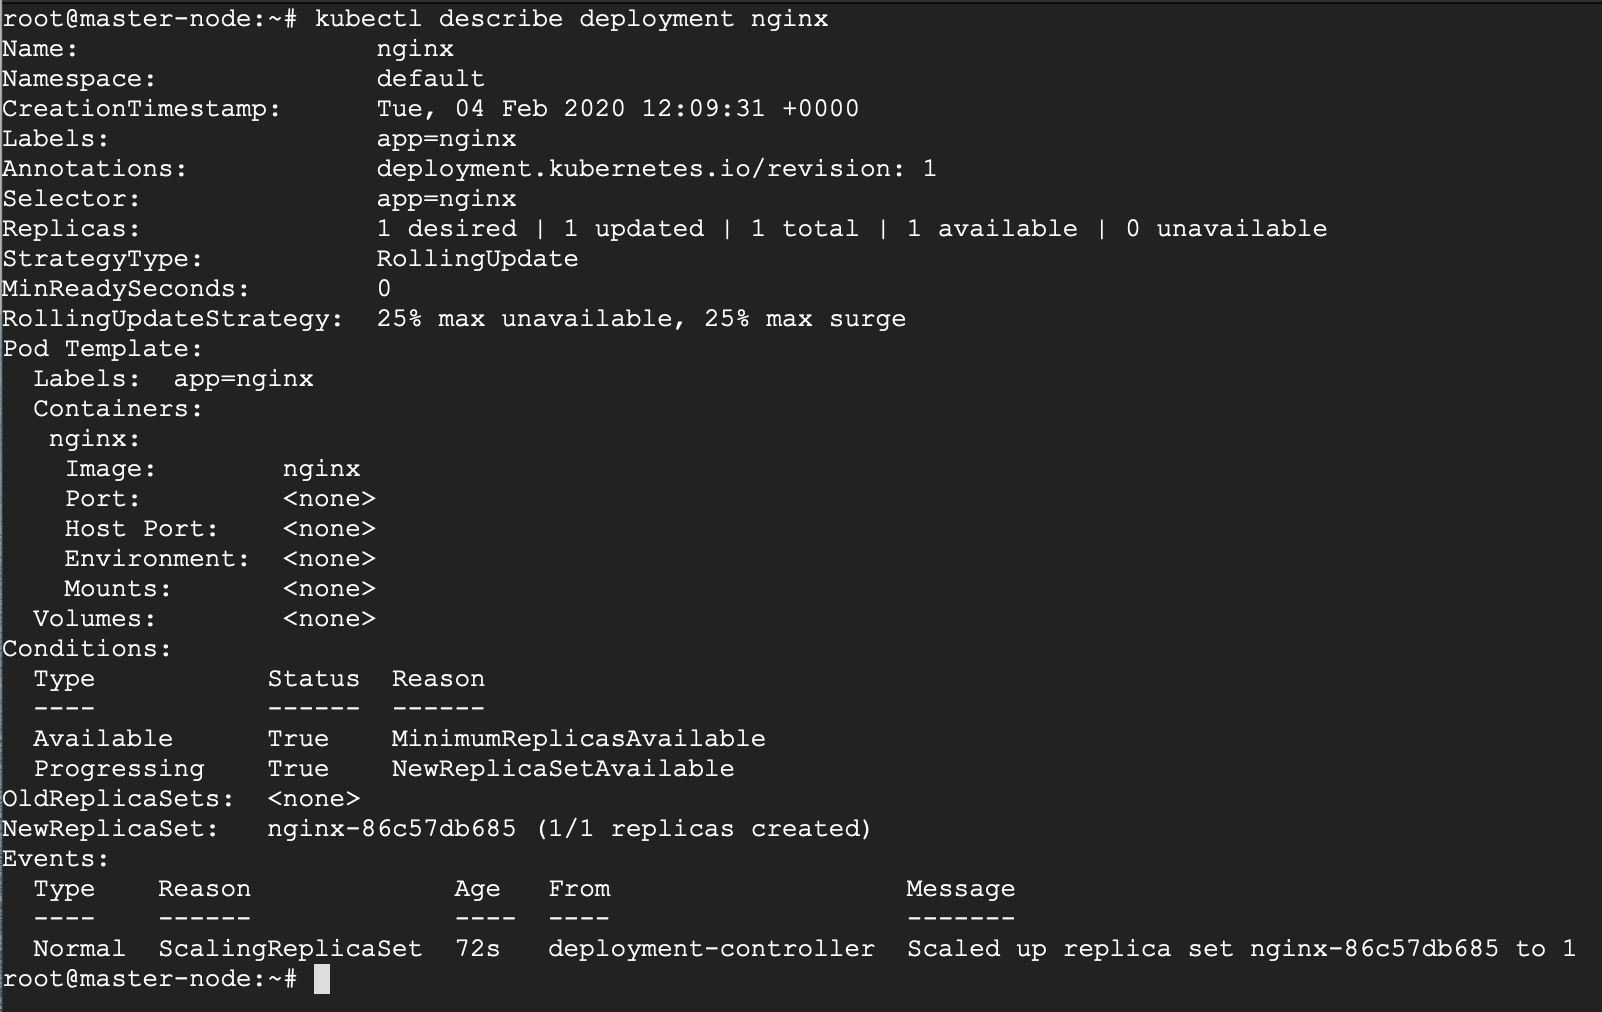
If you’d like to see more detail about your deployment, you can run the describe command. For example, it is possible to determine how many replicas of the deployment are running. In our case, we expect to see a replica of 1 running (i.e 1/1 replicas).
# kubectl describe deployment nginx
Now your Nginx deployment is active, you may want to expose the NGINX service to a public IP reachable on the internet.
Exposing Your Nginx Service to Public Network
Kubernetes offers several options when exposing your service based on a feature called Kubernetes Service-types and they are:
- ClusterIP – This Service-type generally exposes the service on an internal IP, reachable only within the cluster, and possibly only within the cluster-nodes.
- NodePort – This is the most basic option of exposing your service to be accessible outside of your cluster, on a specific port (called the NodePort) on every node in the cluster. We will illustrate this option shortly.
- LoadBalancer – This option leverages on external Load-Balancing services offered by various providers to allow access to your service. This is a more reliable option when thinking about high availability for your service, and has more feature beyond default access.
- ExternalName – This service does traffic redirect to services outside of the cluster. As such the service is thus mapped to a DNS name that could be hosted out of your cluster. It is important to note that this does not use proxying.
The default Service-type is ClusterIP.
In our scenario, we want to use the NodePort Service-type because we have both a public and private IP address and we do not need an external load balancer for now. With this service-type, Kubernetes will assign this service on ports on the 30000+ range.
# kubectl create service nodeport nginx --tcp=80:80
Run the get svc command to see a summary of the service and the ports exposed.
# kubectl get svc
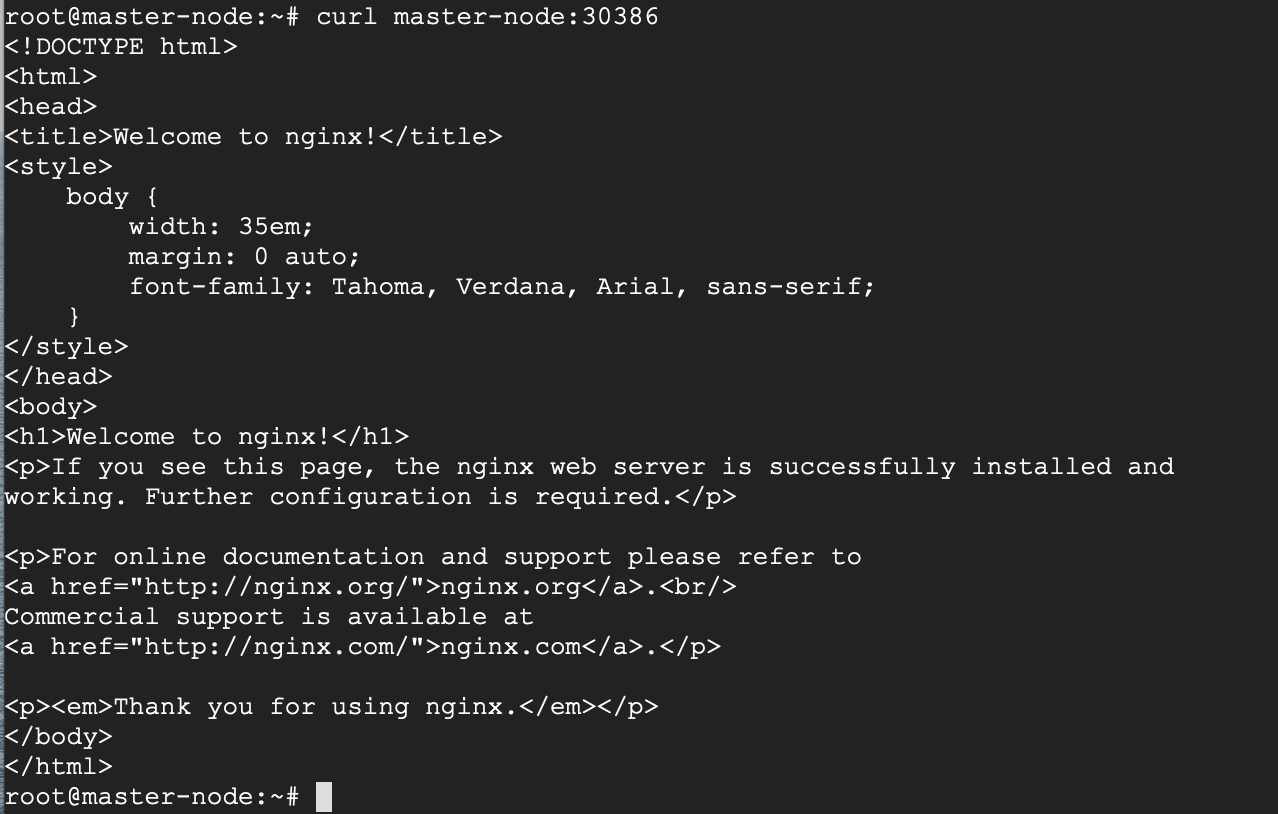
Now you can verify that the Nginx page is reachable on all nodes using the curl command.
# curl master-node:30386
# curl node-1:30386
# curl node-2:30386
As you can see, the “WELCOME TO NGINX!” page can be reached.
Reaching Ephemeral PUBLIC IP Addresses
As you may have noticed, Kubernetes reports that I have no active Public IP registered, or rather no EXTERNAL-IP registered.
# kubectl get svc
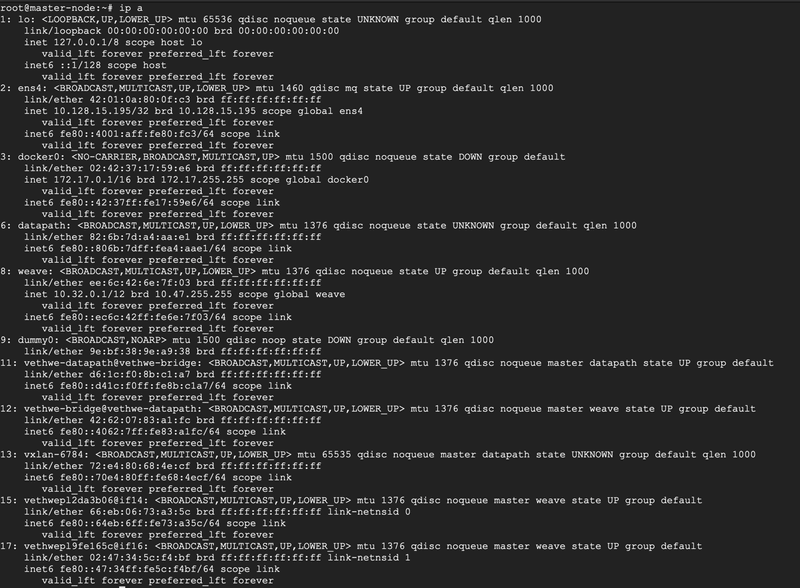
Let’s verify if it is indeed true, that I have no EXTERNAL IP attached to my interfaces using IP command.
# ip a
No public IP as you can see.
As mentioned earlier, I am currently running this deployment on a Virtual Machine offered by a public cloud provider. So, while there’s no particular interface assigned a public IP, the VM provider has issued an Ephemeral external IP address.
An ephemeral external IP address is a temporary IP address that remains attached to the VM until the virtual instance is stopped. When the virtual instance is restarted, a new external IP is assigned. Basically put, it’s a simple way for service providers to leverage on idle public IPs.
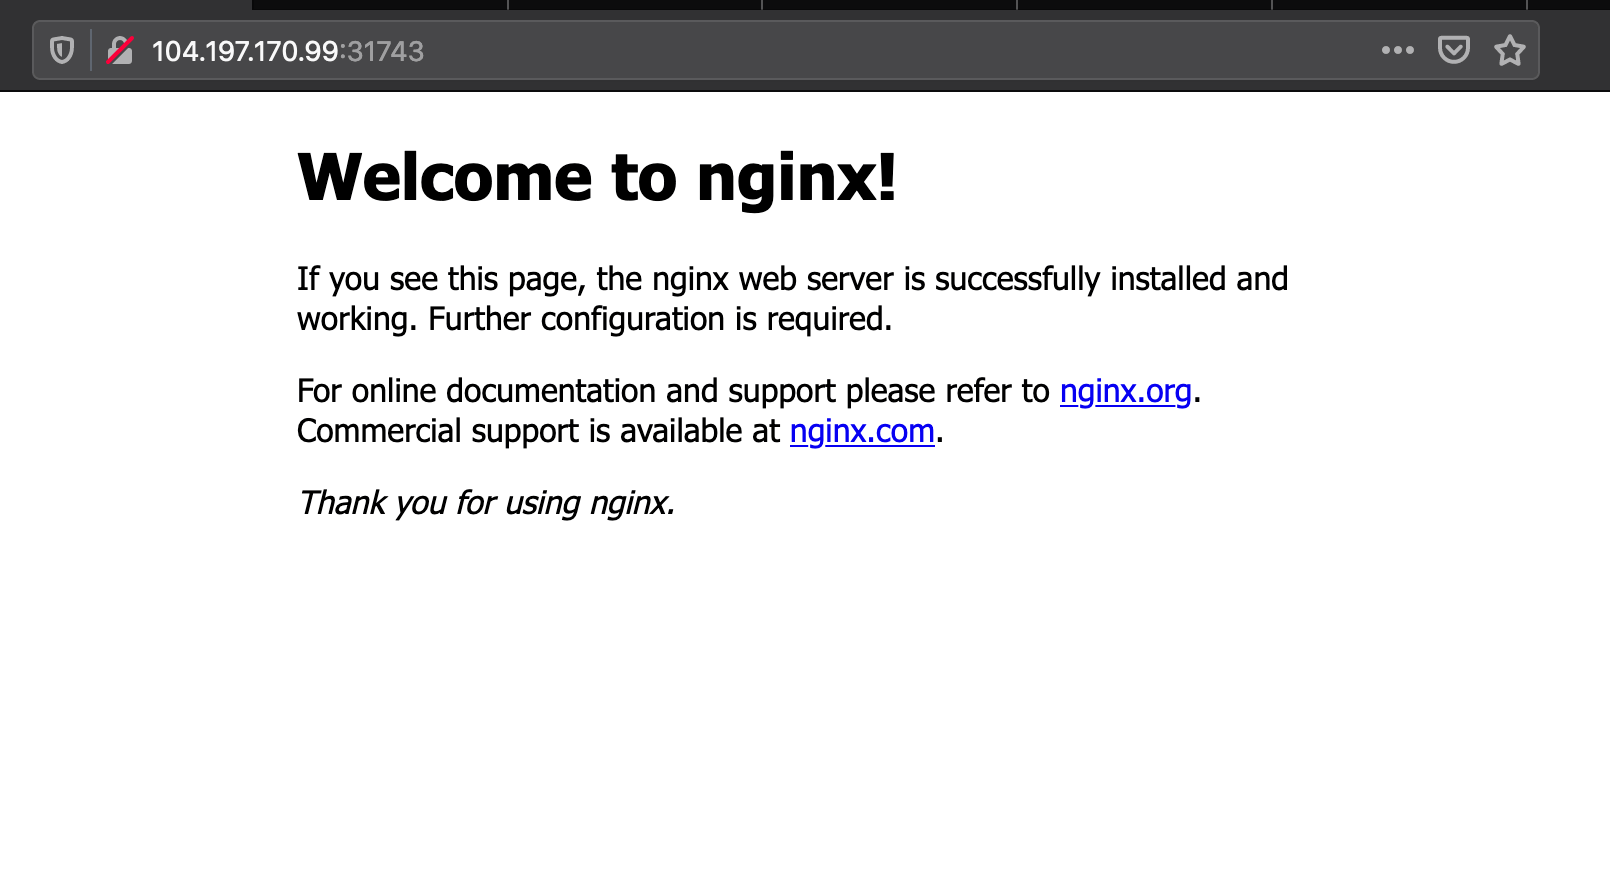
The challenge here, other than the fact that your public IP is not static, is that the Ephemeral Public IP is simply an extension (or proxy) of the Private IP, and for that reason, the service will only be accessed on port 30386. That means that the service will be accessed on the URL <PublicIP:InternalPort>, that is 104.197.170.99:30386, which if you check your browser, you should be able to see the welcome page.
With that, we have successfully deployed NGINX on our 3-node Kubernetes cluster.


