Bodhi GNU/Linux is a Ubuntu-based distribution designed especially for Desktop computing and is best known for its elegant and lightweight nature. The Distribution philosophy is to provide a minimal base system that can be populated with the applications as per the user’s choice.
The Base System only include those applications which are essentially required viz., PCManFM, GNOME Web web browser, Terminology terminal emulator, ePhoto, and leafpad. Apt or AppCenter can be used to download and install lightweight applications in one go.
Standard Bodhi Gnu/Linux is designed for an Intel-compatible processor with an alpha release version for ARM Processor (Tablet computing) based on Debian GNU/Linux. The ARM processor version of Bodhi is no more officially supported, in lack of time.
Built on top of Ubuntu’s long-term support release, Bodhi releases security fixes on daily basis for a period of 5 years. The most notable point is Bodhi has no release on short-term support. The package manager or command line can be used to update Bodhi.
Requirements
- RAM: 512 MB RAM and above
- HDD: 5 GB hard disk space
- PROCESSOR: 500 MHz processor and above
- Platform: i386 and AMD64
Salient Features of Bodhi Linux
- No need for a High-end machine to run Bodhi GNU/Linux.
- Enlightenment windows manager built directly from the development repository makes it highly customizable, gives it a higher level of modularity and a variety of themes.
- A collection of lightweight applications.
- Most of the applications developed are written in C and Python.
- The standard system is so fast that you get a Live working environment from the boot in 10 sec.
- Installing Bodhi from Live distro is merely a few clicks away.
On May 12, 2021, a new version of Bodhi Linux 6.0 released based on the Ubuntu 20.04.2 LTS (Focal Fossa) base. Now we will take you to the journey of Bodhi starting from booting to Live environment and then installations. Here we go!
Installation of Bodhi Linux 6.0
1. First go to the official page of Bodhi Linux and grab the Bodhi Linux 6.0.0 for your system architecture and create a bootable UDB Drive using Unetbotoin or dd command, and restart the system.
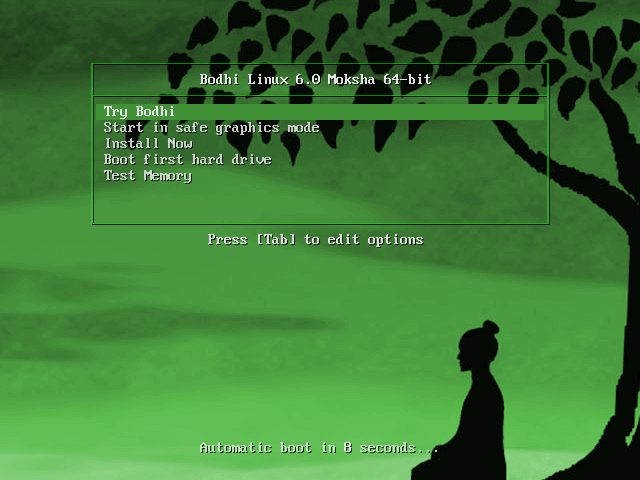
2. Once your system reboots, you will be presented with the Bodhi Linux boot menu.
3. Bodhi Linux Loading.
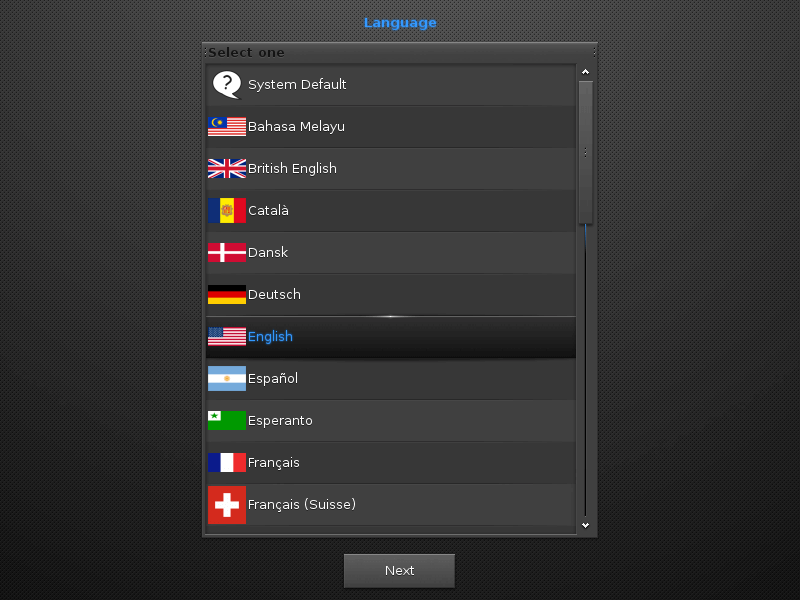
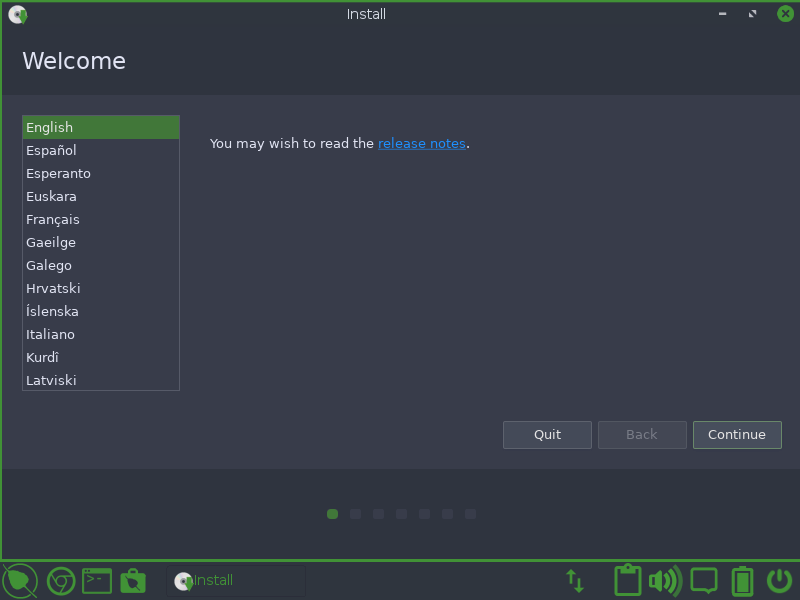
4. Choose your preferred language and click Continue.
5. Enlightenment (Default) Desktop Environment.
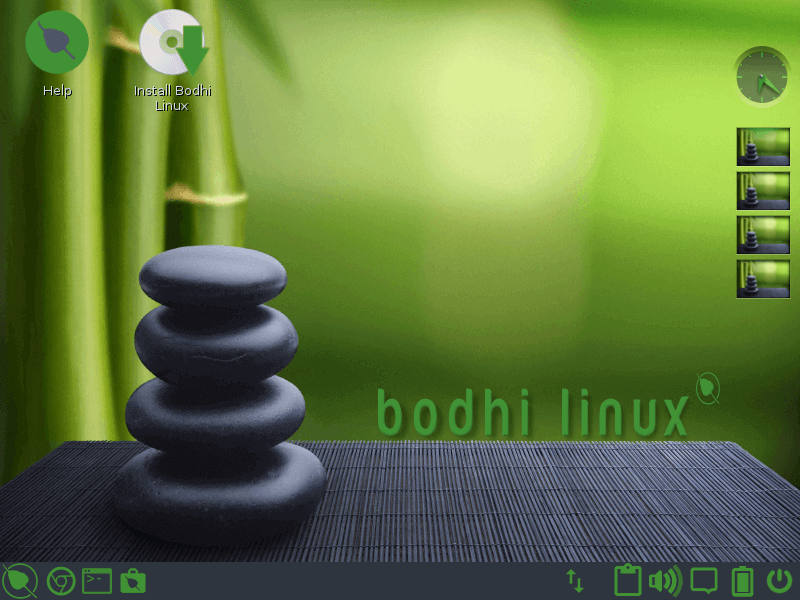
6. From the Bodhi Live Environment, locate and click the Install Bodhi Linux from the Main Desktop. Next, choose your preferred language and click Continue
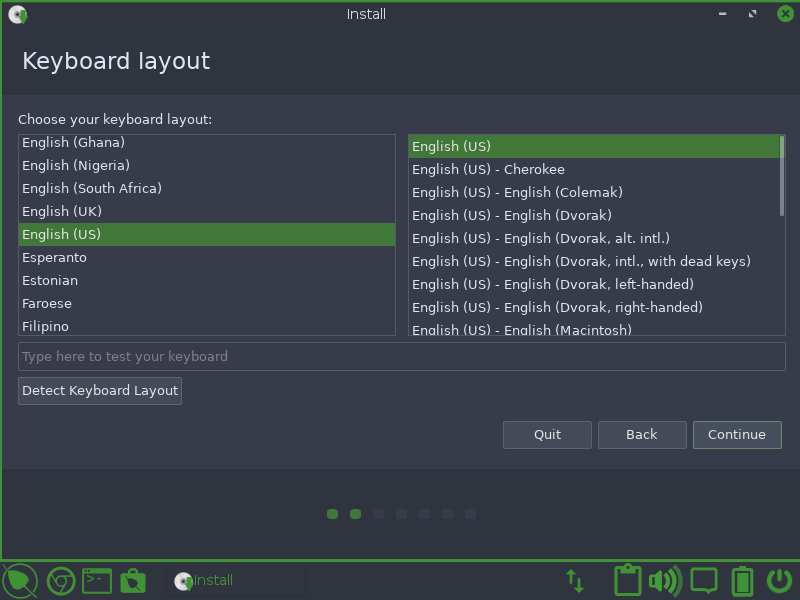
7. Choose your general keyboard layout from the list on the left, then select the particular layout from the list on the right.
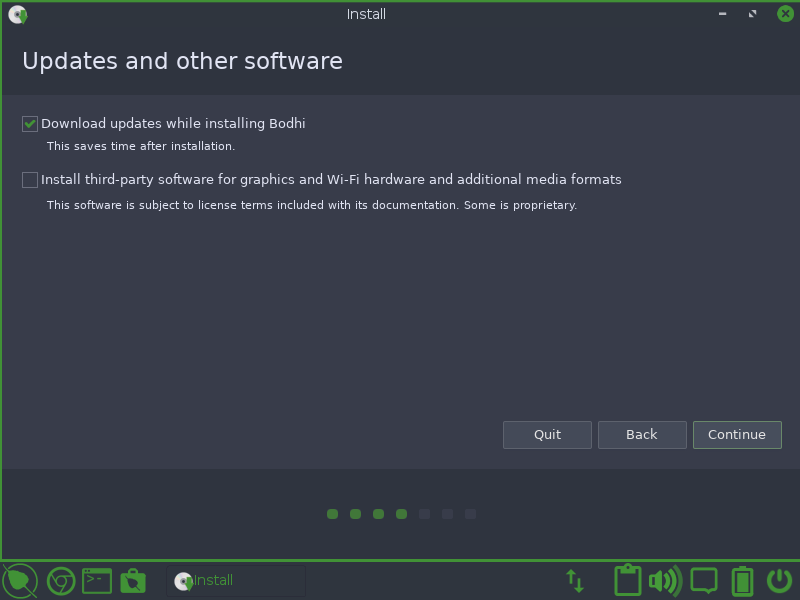
8. Next, you need to set the software update preferences:
- Download updates while installing Bodi (default: selected).
- Install third-party software updates for graphics cards and wifi hardware (default: not selected).
NOTE: For low specification PCs, unselect the option “Download updates while Installing Bodhi”, as this increases the memory requirements of the installer.
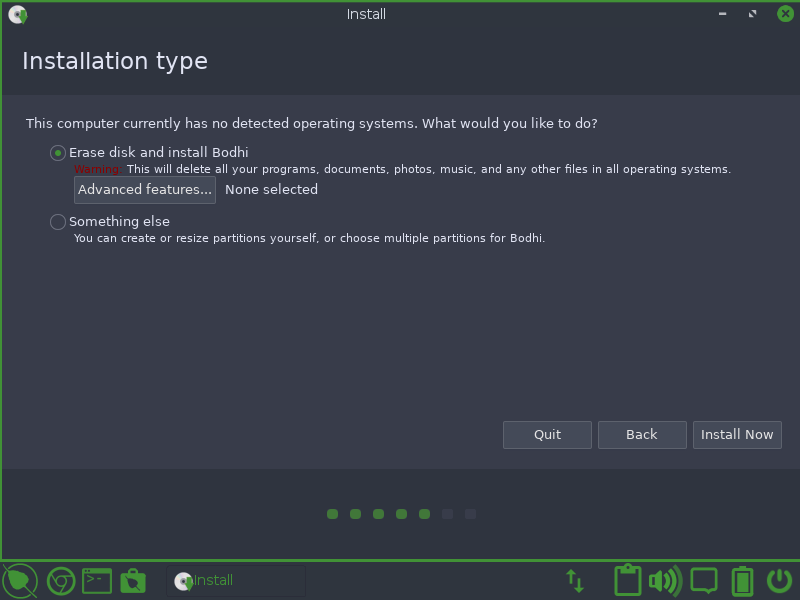
9. Next, choose Bodhi Linux Installation Type:
- If you are installing Bodhi Linux in a machine where it will be the only operating system, select Erase disk and install Bodhi.
- If the installer discovers another OS you will see options to “install alongside…”. For example, Install Bodhi alongside Windows Boot Manager.
- If you want total control over the installation target, then select the option “Something else“.
Here I’ve selected Erase disk and install Bodhi.
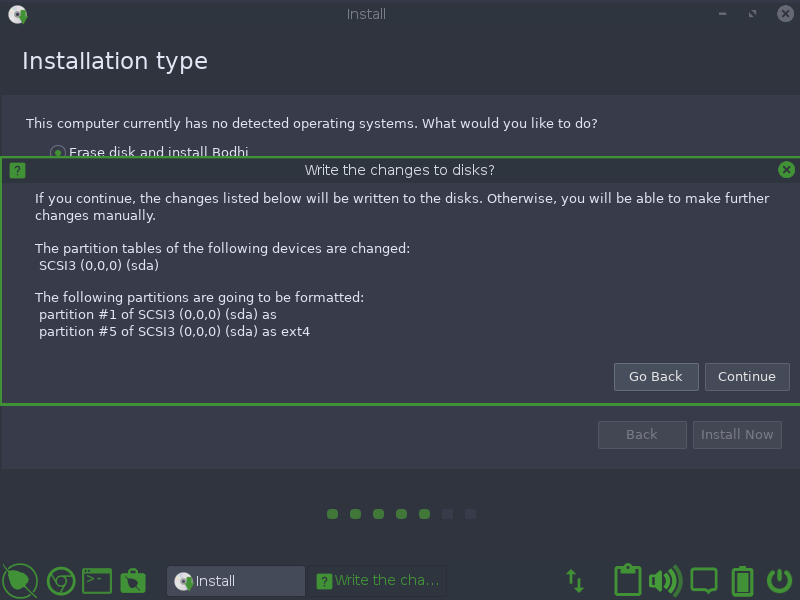
10. Write changes to disk?: No problem what option you have chosen, you will get this confirmation screen. Go Back if you are not sure about your changes; otherwise, click Continue.
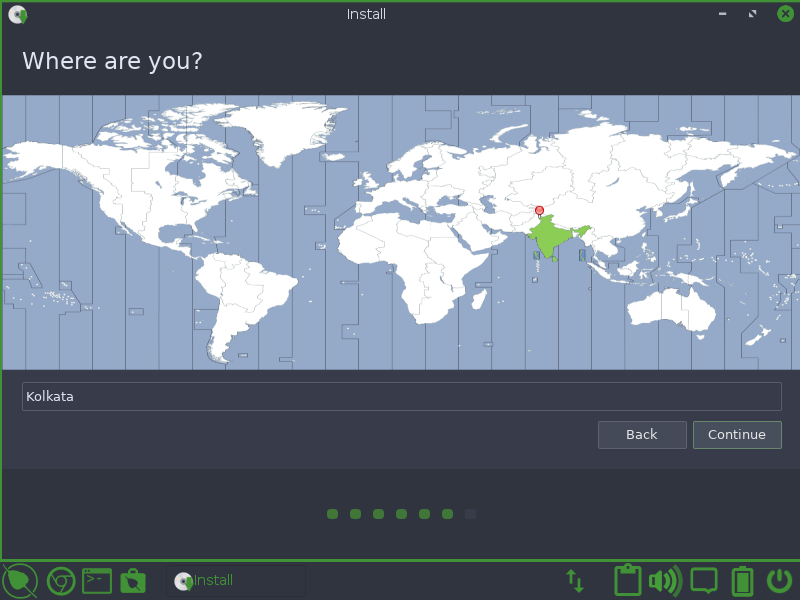
11. Select a time zone based upon your geographical location.
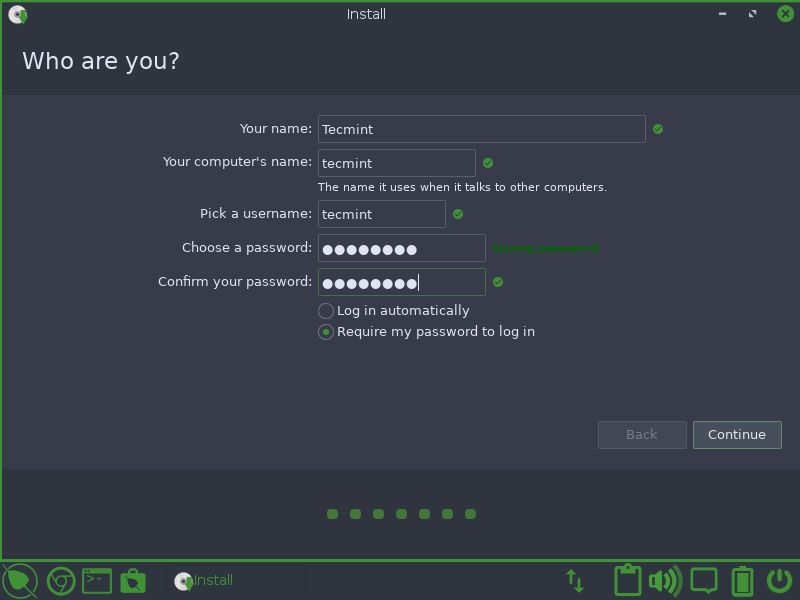
12. Create a new user account by entering your name, computer name, username, and password. You may choose to log in automatically.
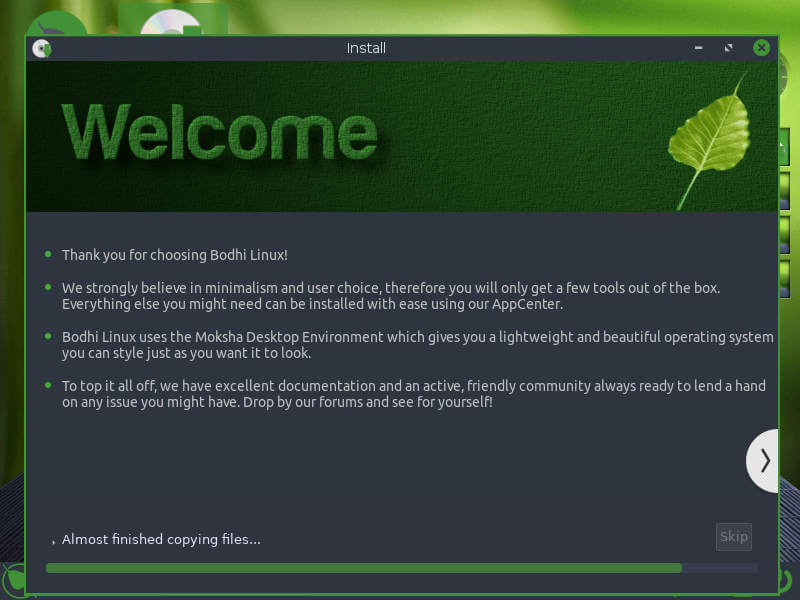
13. Copying files, will take some time as per your machine specification. In the mean, you may read the welcome message.
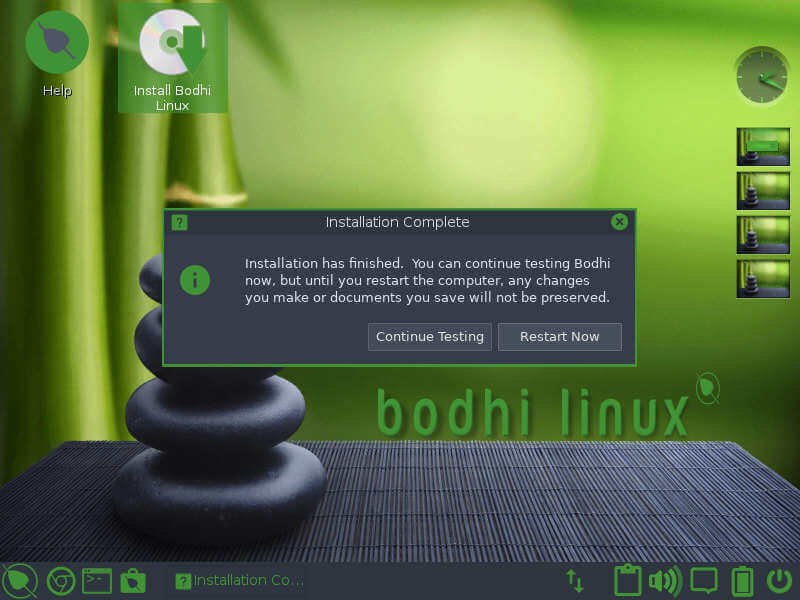
14. Finally, the installation finished. Time to reboot the machine. You may continue testing it and choose to reboot later.
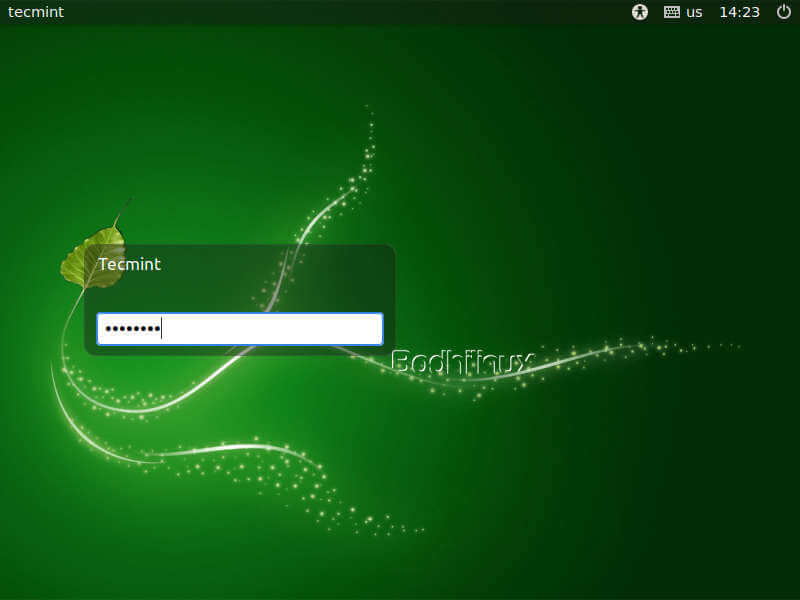
15. The login screen. Enter your password.
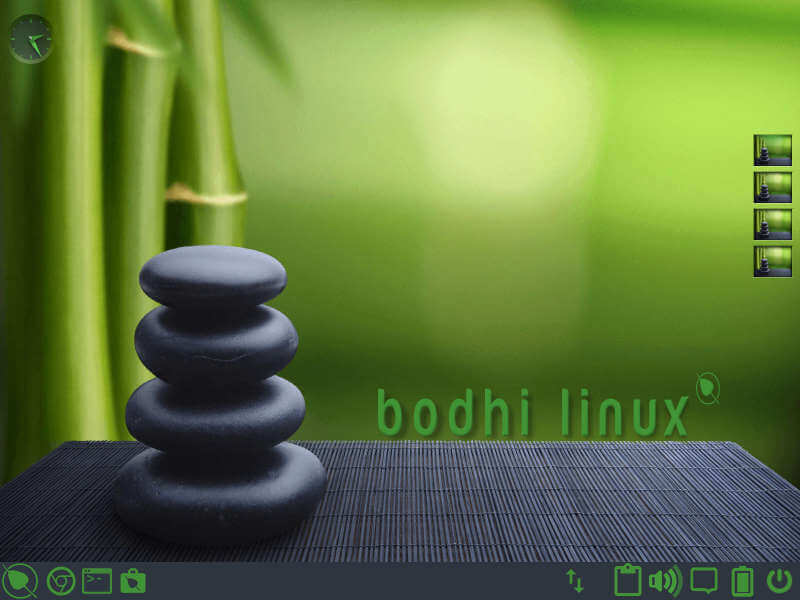
16. Finally the working Bodhi Linux desktop interface.
My Thoughts about Bodhi Linux 6.0
The Bodhi Linux is exceptionally lightweight distribution and rock solid. The visual effects are really appealing. Enlightenment is pretty. Nothing seems to break in my testing. I am going to recommend this Distribution to every Ubuntu fan.
If you have an old machine and your current distro lags, you must have a hand on Bodhi Linux. The ISO image is nearly 800MB in size and the installation is pretty simple. Let us know your feedback on the Bodhi Linux as well as on this article.
