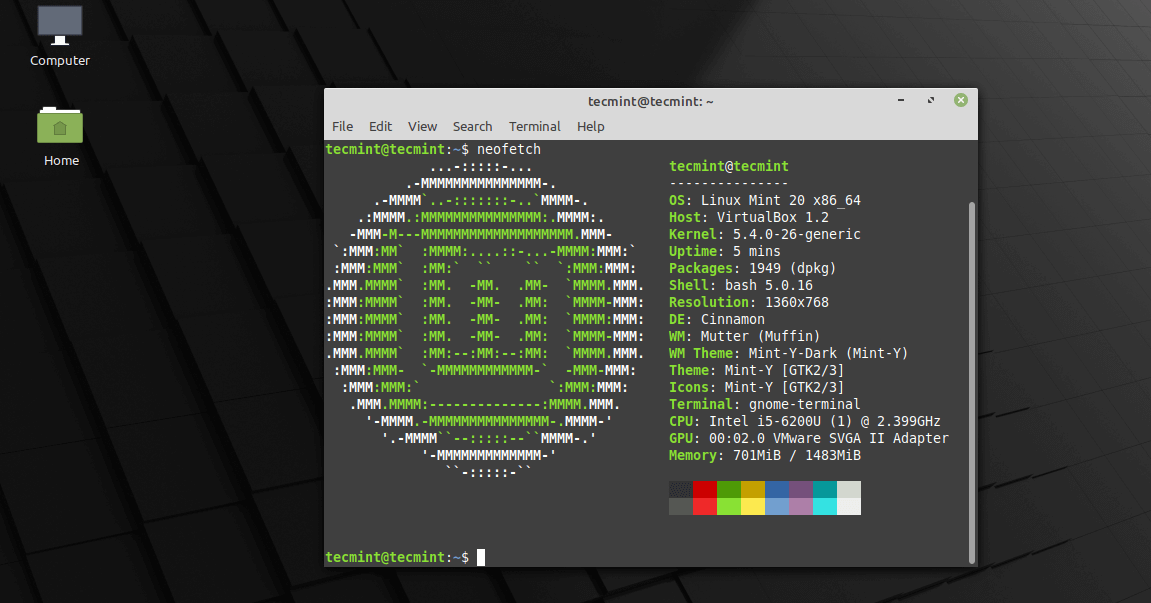
Linux Mint 20, code-named “Ulyana” is a long term support (LTS) release which will be supported until 2025. It comes in three desktop editions: Cinnamon, MATE, and Xfce.
To learn more about Linux Mint 20 new features and improvements, see: Linux Mint 20 is Now Available to Download.
In this article, you will learn how to install Linux Mint 20 Cinnamon desktop edition, but the same instructions work for the MATE and Xfce editions as well.
System Requirements:
- 1 GiB RAM (2 GiB recommended)
- 15 GB of hard-drive space (20 GB recommended)
- 1024×768 resolution
Download Linux Mint 20
The latest release of Linux Mint 20, can be downloaded using the following links.
Installing Linux Mint 20 Cinnamon Edition
1. After downloading the Linux Mint 20 iso image, burn the image to a DVD or create a bootable USB stick using a tool such as Universal USB Installer (which is BIOS compatible) or Rufus (which is UEFI compatible).
2. Next, insert the bootable USB device or DVD in the appropriate drive on your machine. Then restart the machine and instruct the BIOS/UEFI to boot-up from the DVD/USB by pressing a special function key (usually F2, F10, or F12 depending on the vendor specifications) to access the boot device order menu.
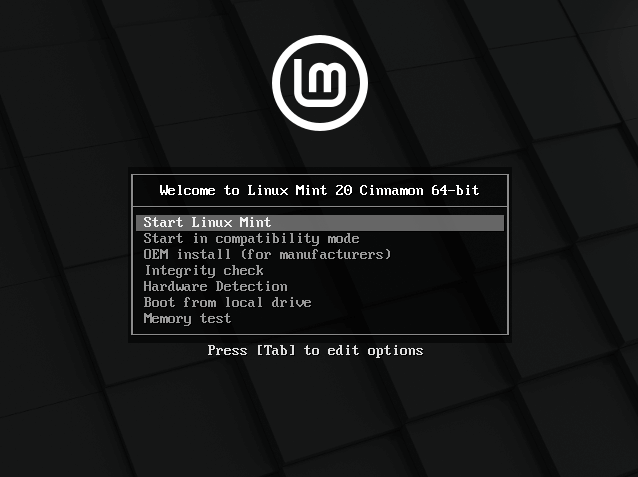
Once the computer boots from the bootable media, you will see the Linux Mint 20 GRUB welcome screen as shown in the following screenshot. Select Start Linux Mint and click Enter.
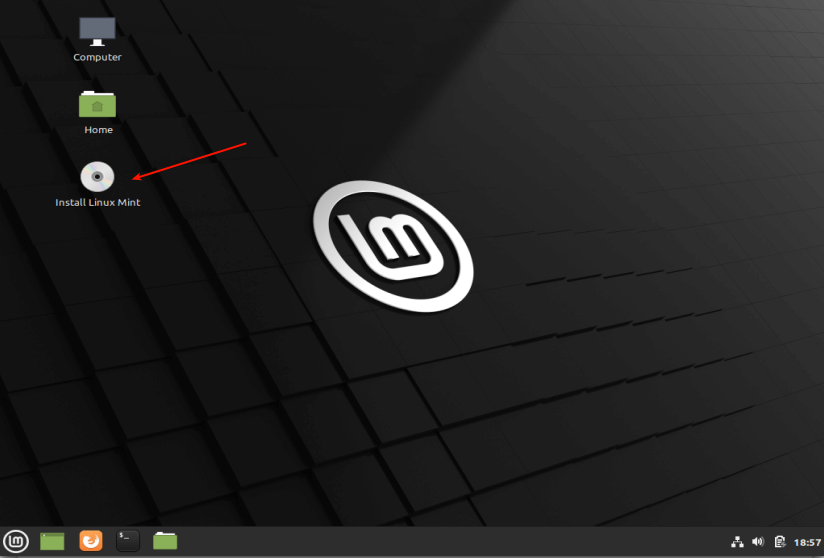
3. After Linux Mint loads, click the Install Linux Mint icon as highlighted in the following image.
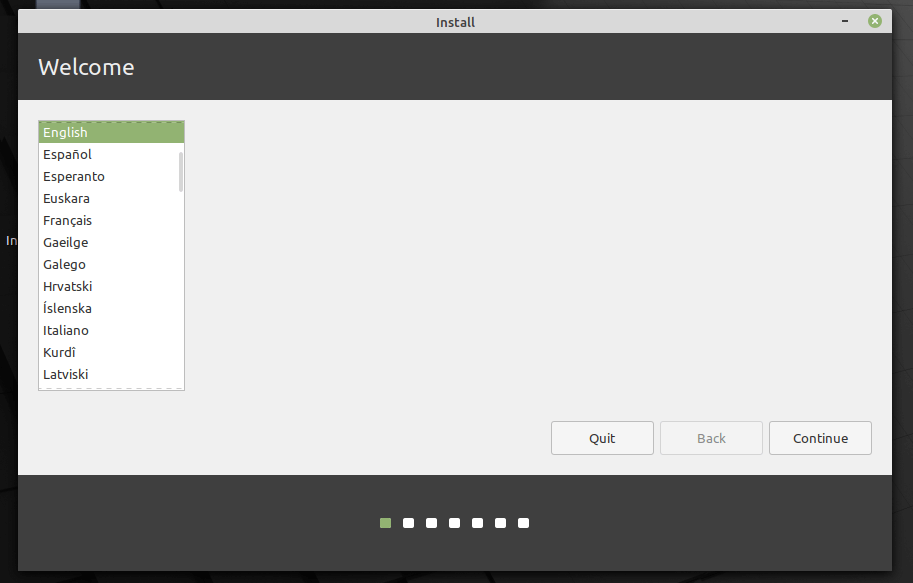
4. Once the installer welcome page loads, select the installation language you prefer to use. Then click Continue.
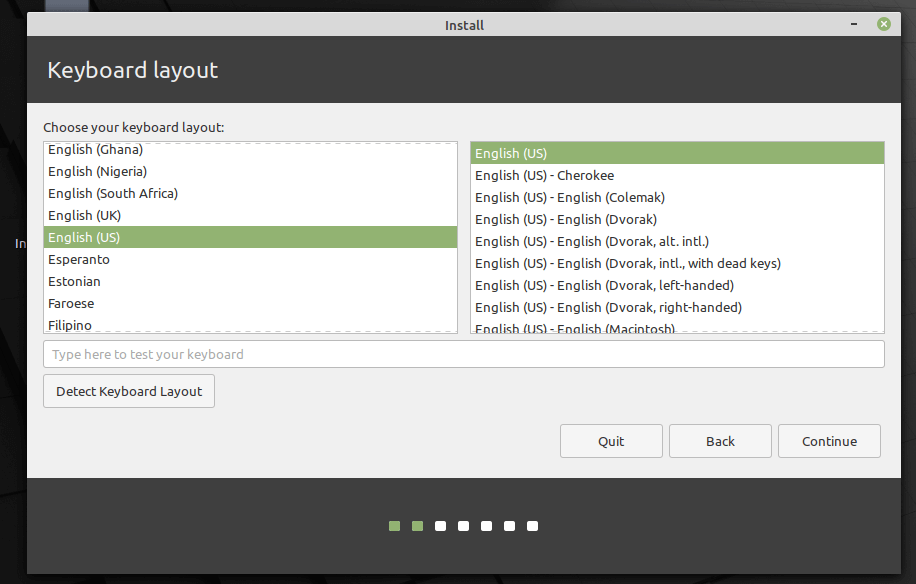
5. Next, choose your keyboard layout and click Continue.
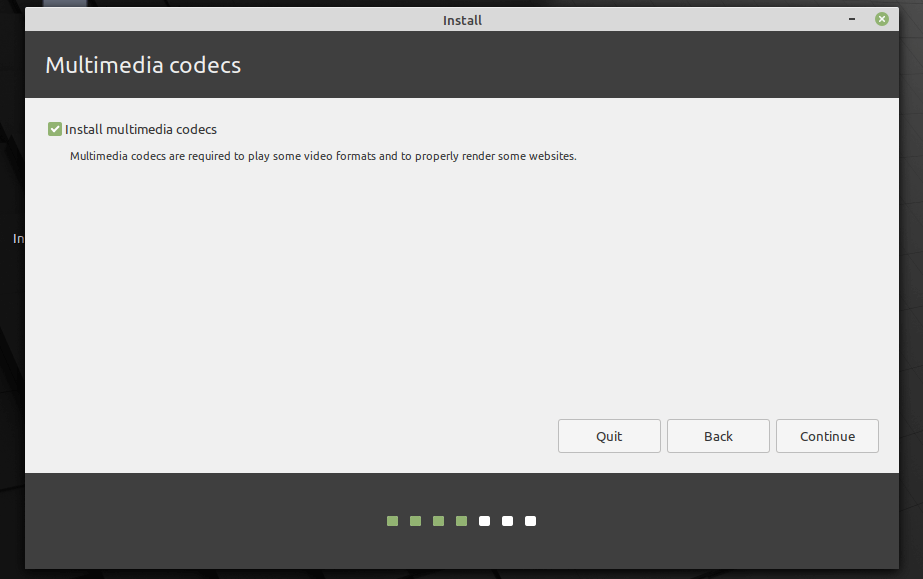
6. Next, choose the option to install media codes (required to play some video formats and to properly render some websites). Then click Continue.
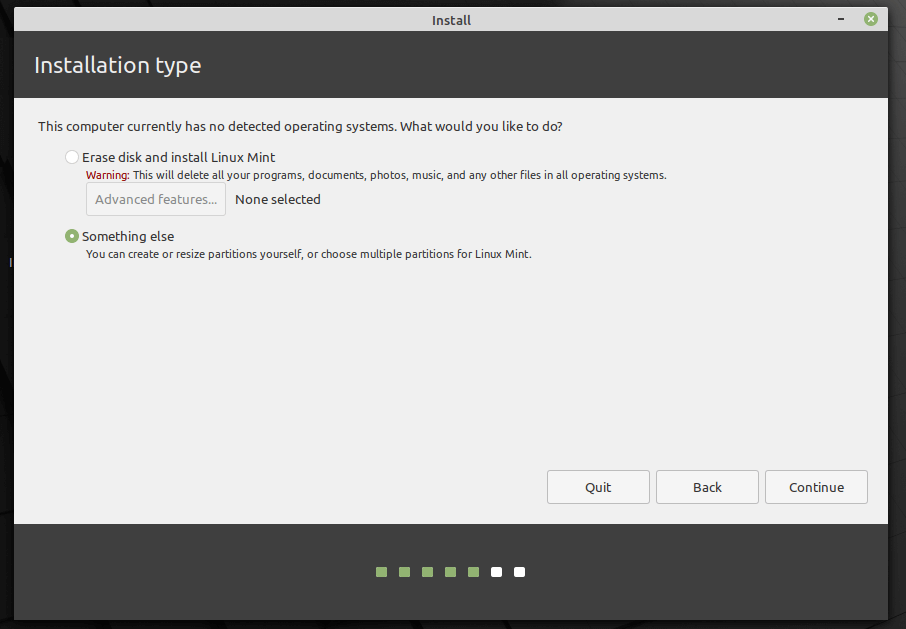
7. Next, choose the installation type. For this guide, we will consider a scenario of installing Linux Mint on an unpartitioned hard drive without an existing operating system. We will show how to manually partition your hard drive for the installation.
Select Something else from the two available options. Then click Continue.
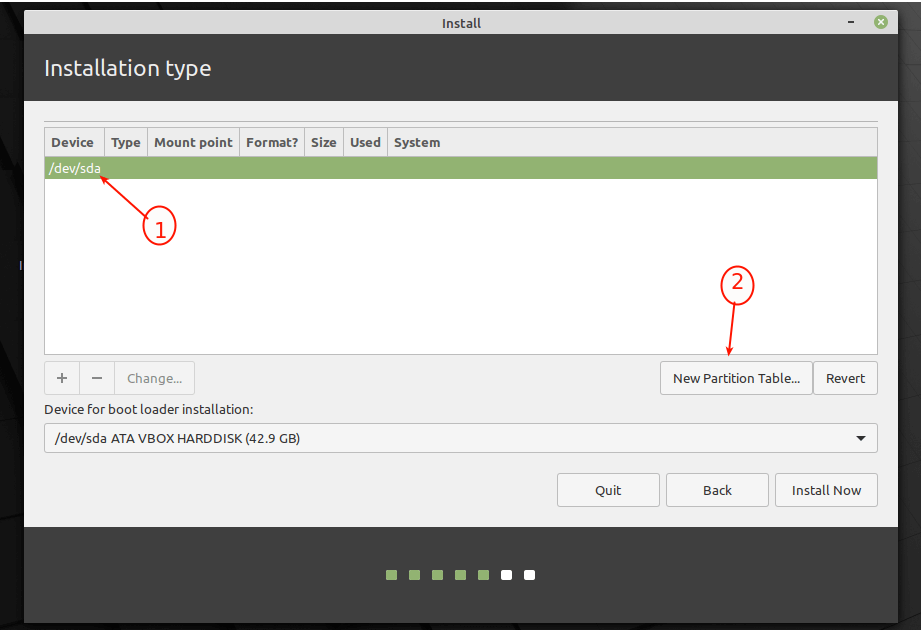
8. Next, select/click on the unpartitioned storage device from the list of available storage devices. Then click New Partition Table. Importantly, the installer will automatically select the device on which the boot-loader will be installed.
9. In the next pop-up window, click Continue to create an empty partition table on the device.
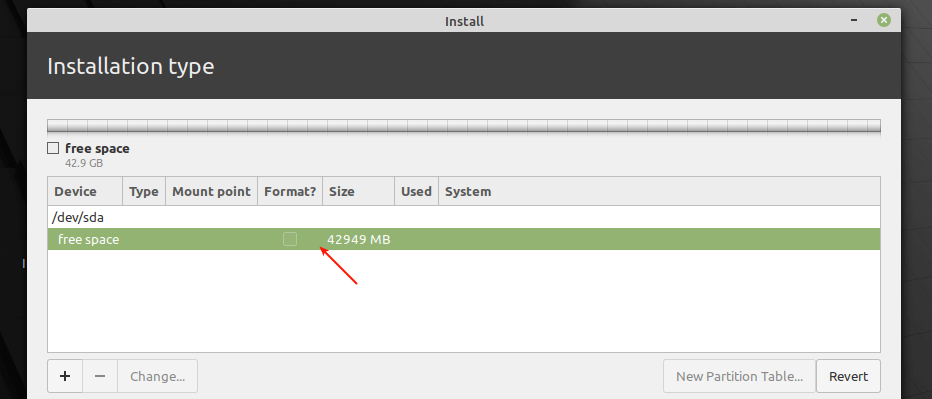
10. The installer will create a free space equivalent to the capacity of the hard drive. Now double click on the free space to create a partition as described next.
Creating root(/) Partition
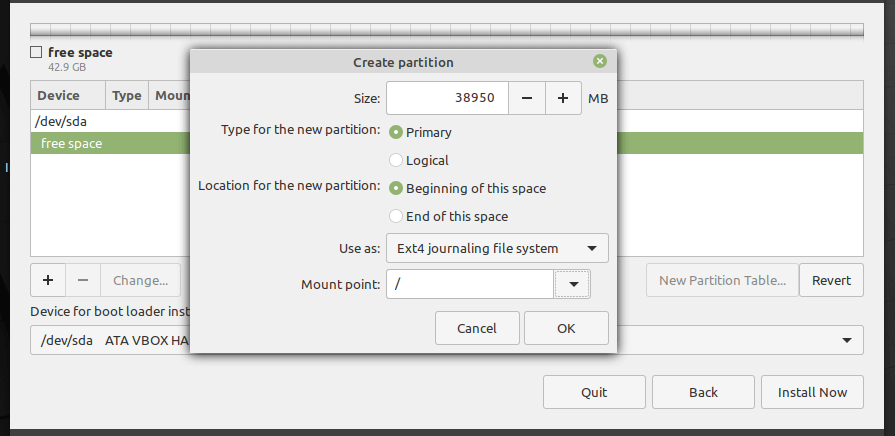
11. The root partition stores the base system files. To create it, enter the size of the new partition (out of the total free space). Then select the file system type to (the default is EXT4 journaling file system type), the mount point should be set to / (meaning root partition) from the drop-down list. Then click Ok.
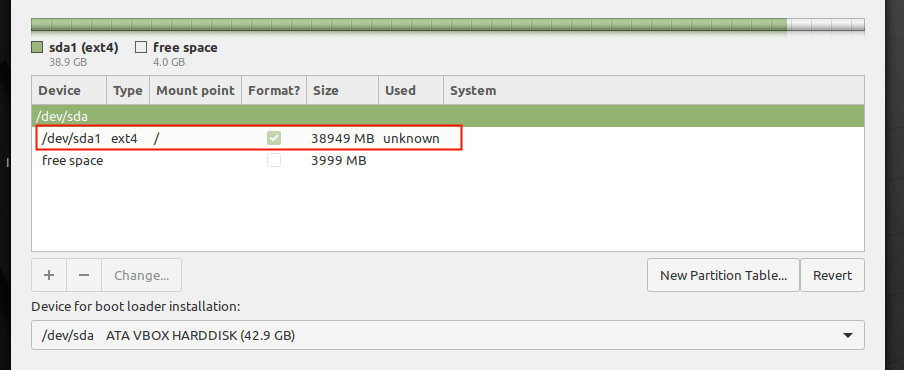
12. The root partition should now appear in the list of partitions as shown in the following screenshot.
Creating Swap Area/Partition
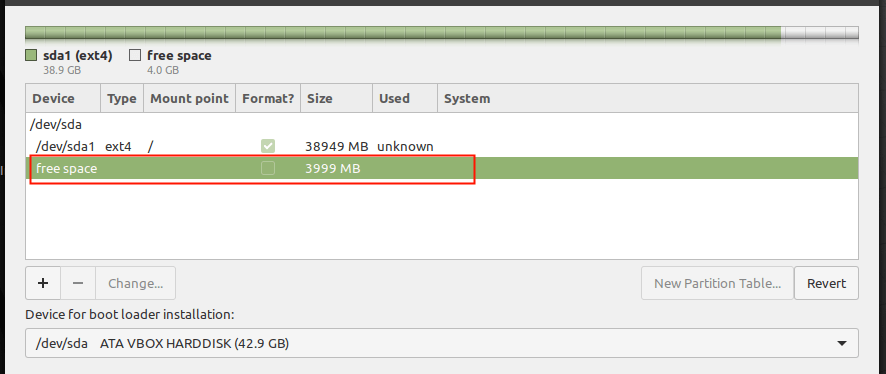
13. Next, you need to create a swap partition/area using the available free space. Double click on the free space to create a new partition to be used as swap area.
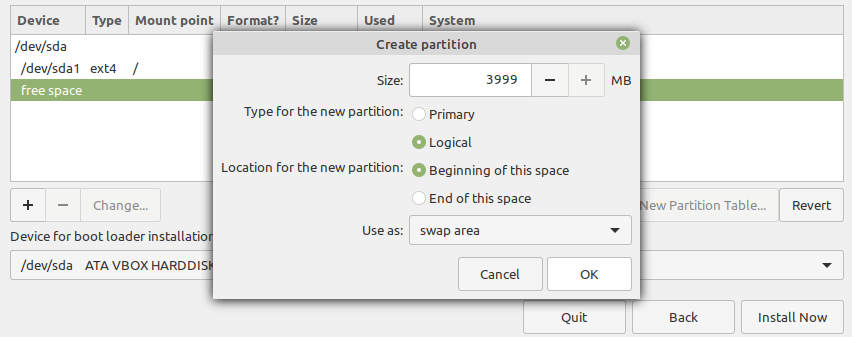
14. In the pop-up window, enter the swap partition size and set the Use as to swap area.
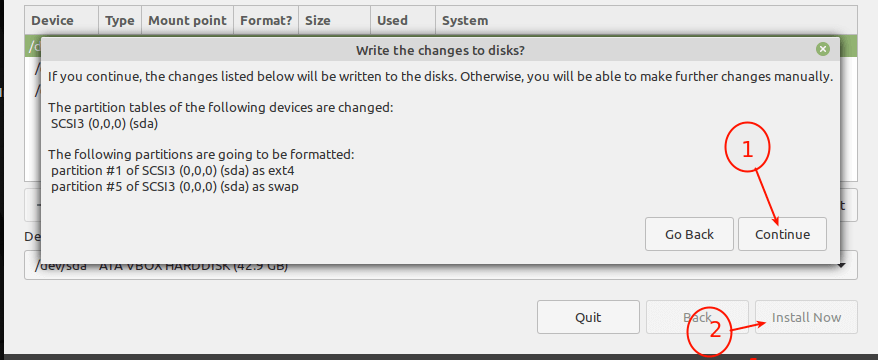
15. Now, you should have two partitions (root and swap area) created. Next, click Install Now button, the installer will prompt you to accept the new changes in the hard disk partition layout. Click Continue to proceed.
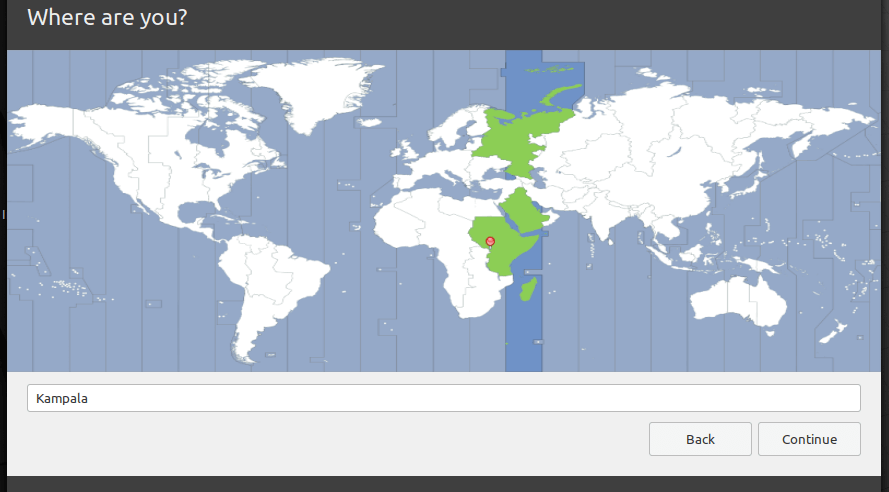
16. Next, select your location and click Continue.
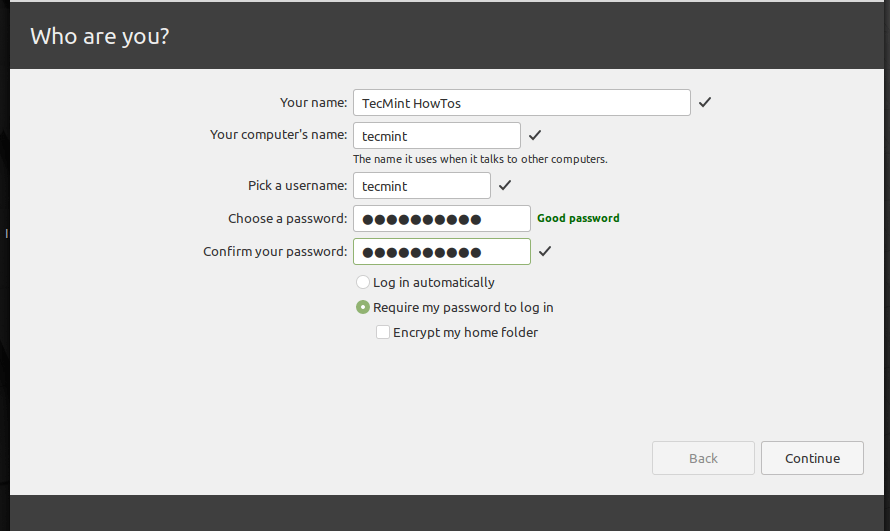
17. Next, enter your user details for system account creation. Provide your full name, the computer’s name and username, and a strong, secure password.
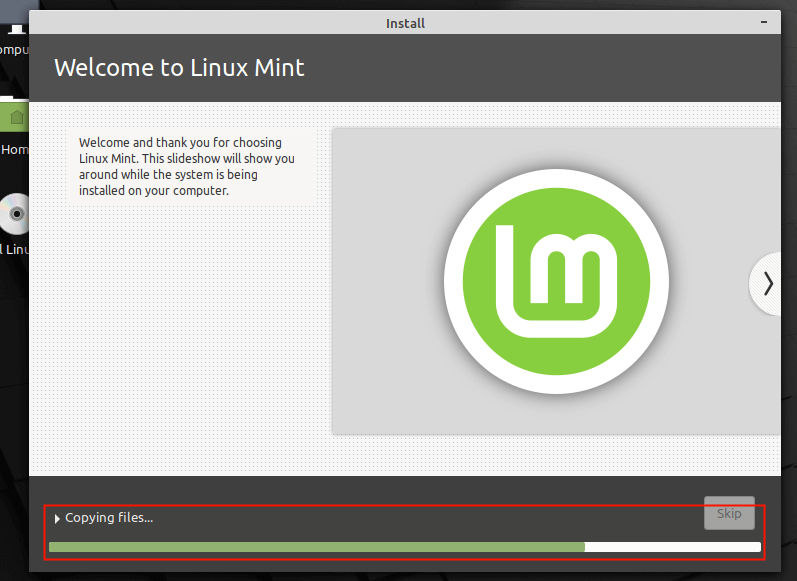
18. If all is ok, the installation of the base system files and packages should start highlighted in the following screenshot, wait for it to complete.
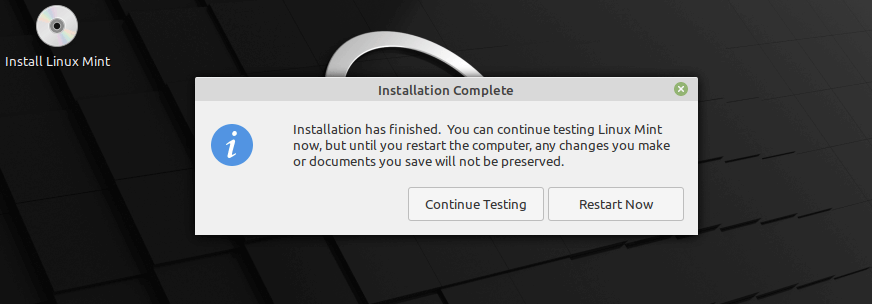
19. When the base system installation is complete, restart your system by clicking Restart Now.
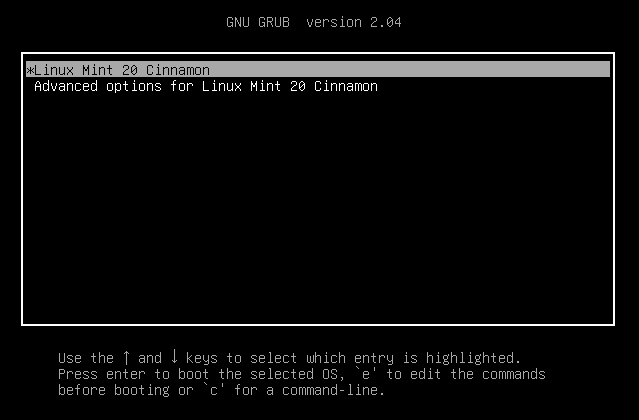
20. After the restart, remove the installation media, otherwise, the system will still boot from it. At the GRUB menu, select Linux Mint and allow it to load.
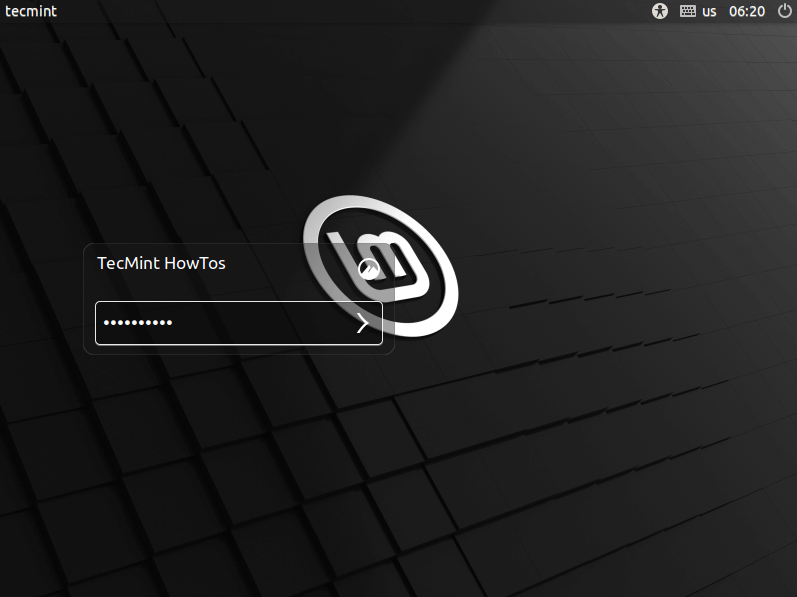
21. At the login interface, enter your account password to log in. Then click Enter.
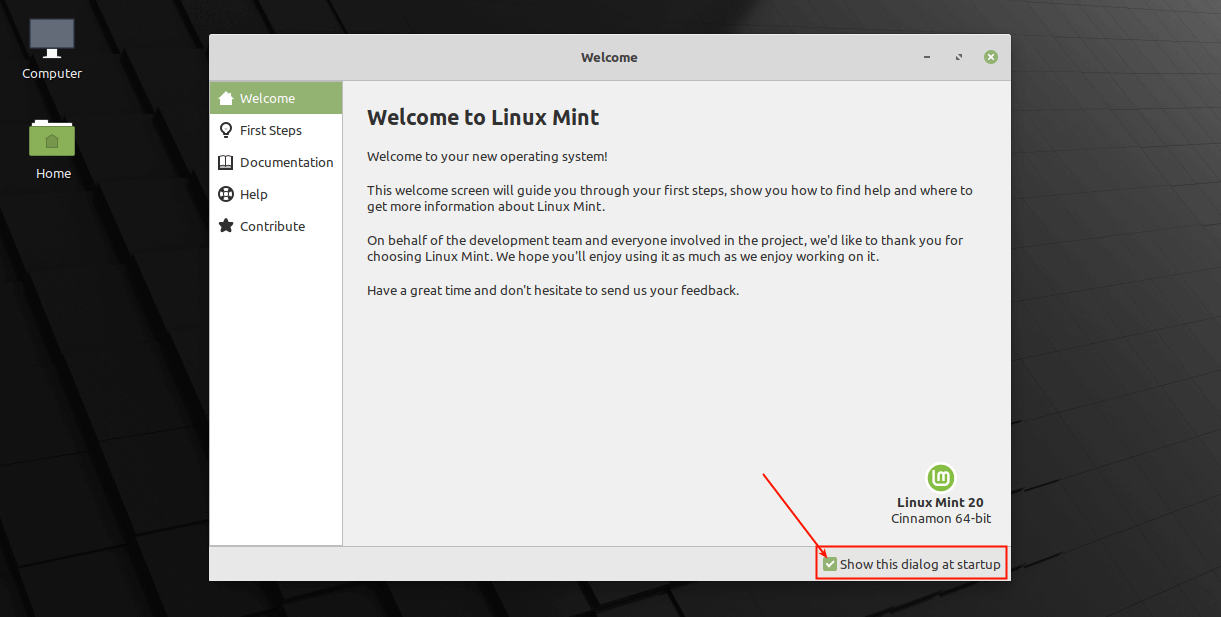
22. After login, you will see the start-up welcome message. To disable this message, unchecked the option highlighted in the following screenshot.
Congratulations! In this guide, we showed how to install Linux Mint 20 Cinnamon edition on your computer. Enjoy! Do share your thoughts with us via the feedback below.

