pgAdmin is an open-source feature-rich, frontend management tool that allows you to easily administer and manage your PostgreSQL relational database from a web browser.
It provides an easy-to-use user interface that simplifies the creation and monitoring of databases and database objects. PgAdmin 4 is an improvement of the earlier pgAdmin tool and is available for Linux, Windows, macOS systems, and even a Docker container.
In this tutorial, you will learn how to install PostgreSQL with pgAdmin4 on Linux Mint 20.
Step 1: Install PostgreSQL Database on Linux Mint
1. To start off, launch your terminal and update your packages using the apt package manager as shown.
$ sudo apt update -y
Once the update is complete, proceed to the next step.
Since pgAdmin4 provides a frontend interface for the management of PostgreSQL database objects, it’s essential to have PostgreSQL installed first.
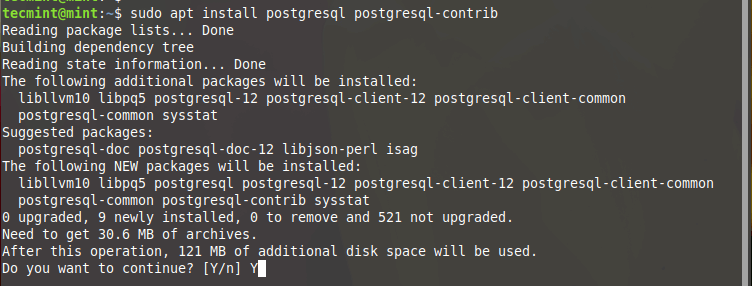
2. To do this, we are going to install the postgresql package and postgresql-contrib which offers extended features that extend the functionality of PostgreSQL.
$ sudo apt install postgresql postgresql-contrib
3. Usually, PostgreSQL starts automatically on boot up. You can confirm this using the command given below:
$ sudo systemctl status postgresql

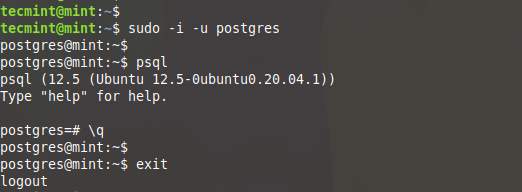
4. To log in to your PostgreSQL instance, first switch to the postgres user. The Postgres user comes included by default with the installation of PostgreSQL. Then run the psql command as shown.
$ sudo -i -u postgres
$ psql
# \q
5. Additionally, you can check if the database server is accepting incoming connections as shown.
$ sudo pg_isready

Step 2: Install pgAdmin4 on Linux Mint
pgAdmin4 is available for Ubuntu 16.04 and later versions and can easily be installed using the APT package manager. The same cannot support Linux Mint 20 and Pgadmi4 developers are yet to include support that allows users to easily install the frontend management tool using the APT package manager.
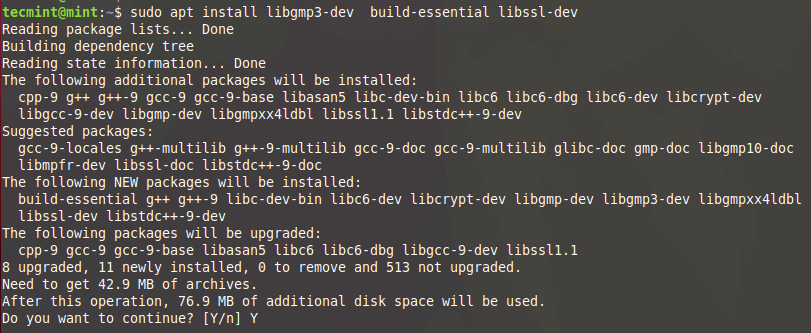
6. The only viable option is to install pgAdmin4 from a virtual environment. So first, we will install the prerequisite packages as shown.
$ sudo apt install libgmp3-dev build-essential libssl-dev
7. Next, install the Python virtual environment and associated dependencies.
$ sudo apt install python3-virtualenv python3-dev libpq-dev

8. Next, create a directory where you will create a virtual environment.
$ mkdir pgadmin4 && cd pgadmin4
9. Then create the virtual environment as shown. Here, pgadmin4env is the name of the virtual environment.
$ virtualenv pgadmin4env

10. Once the virtual environment is in place, activate it as shown.
$ source pgadmin4env/bin/activate
11. Then use the pip tool to install pgadmin4 as shown.
$ pip install https://ftp.postgresql.org/pub/pgadmin/pgadmin4/v4.23/pip/pgadmin4-4.23-py3-none-any.whl

12. Next, create a configuration file config_local.py.
$ sudo nano pgadmin4env/lib/python3.8/site-packages/pgadmin4/config_local.py
and add the lines below.
import os
DATA_DIR = os.path.realpath(os.path.expanduser(u'~/.pgadmin/'))
LOG_FILE = os.path.join(DATA_DIR, 'pgadmin4.log')
SQLITE_PATH = os.path.join(DATA_DIR, 'pgadmin4.db')
SESSION_DB_PATH = os.path.join(DATA_DIR, 'sessions')
STORAGE_DIR = os.path.join(DATA_DIR, 'storage')
SERVER_MODE = False

13. To start the pgAdmin4 management tool, invoke the command:
$ python pgadmin4env/lib/python3.8/site-packages/pgadmin4/pgadmin4.py

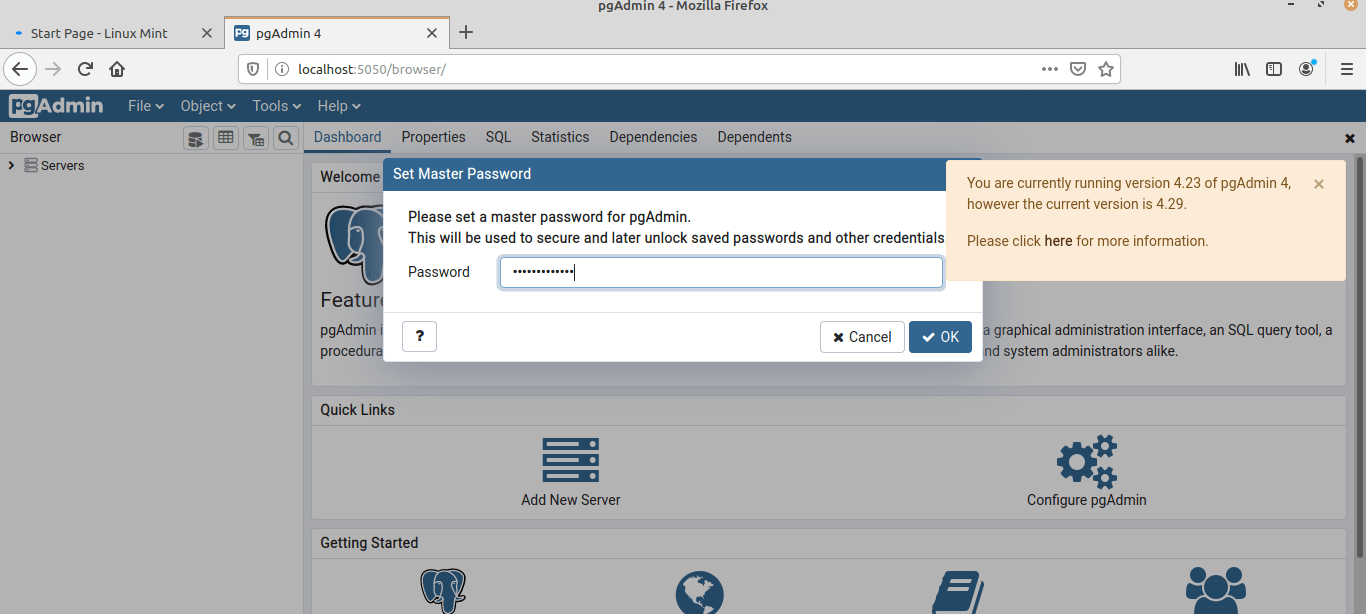
14. Finally, head over to your browser and browse the address shown.
http://127.0.0.1:5050
You will be prompted to set the master password, so proceed and set a strong password and click the ‘Ok’ button.
15. To make things easier, you can create an alias in the ~/.bashrc file as shown.
$ echo "alias startPg='~/pgAdmin4/venv/bin/python ~/pgAdmin4/venv/lib/python3.8/site-packages/pgadmin4/pgAdmin4.py'" >> ~/.bashrc
16. Next, update the bashrc file.
$ source ~/.bashrc
17. Finally, you can start the pgAdmin4 management tool by simply invoking the startpg command.
$ startpg
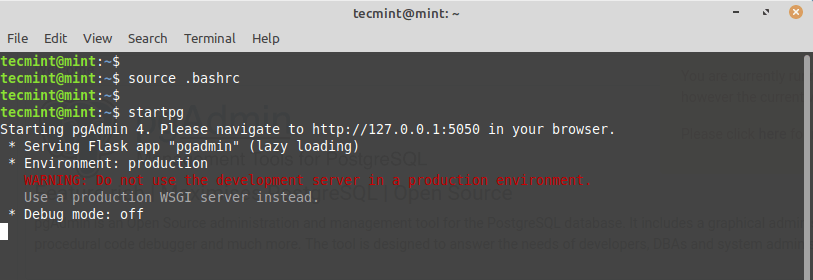
Once again head over to your browser and log in to the PgAdmin4 interface. And this concludes the installation of pgAdmin4 on Linux Mint.
