Most system administration tasks are usually carried out on the terminal. They involve creating users, running updates and changing configuration files and so much more. It can be rather boring to work perpetually on the terminal. Webmin is an opensource web administration tool that allows users to easily monitor and manage servers.
Some of the tasks that you can accomplish with Webmin include:
- Adding and removing users on the system
- Changing users’ passwords.
- Installing, updating, and removing software packages.
- Setting up a firewall.
- Configuring disk quotas to manage the space used by other users.
- Creating virtual hosts (If a web server is installed).
And so much more.
In this article, we take a look at how you can install Webmin on Ubuntu 20.04 and Ubuntu 18.04 so that you can seamlessly manage your system.
Step 1: Update the System and Install Requisites Packages
To get started with installing Webmin, it’s advisable to update your package lists as follows:
$ sudo apt update
Additionally, install the prerequisites packages as shown.
$ sudo apt install wget apt-transport-https software-properties-common
Step 2: Import Webmin Repository Key
Having updated the system and installed the packages, we are then going to append the Webmin GPG key as shown.
$ wget -q http://www.webmin.com/jcameron-key.asc -O- | sudo apt-key add -
Next, add the Webmin repository to the sources list file as shown.
$ sudo add-apt-repository "deb [arch=amd64] http://download.webmin.com/download/repository sarge contrib"
The above command also updates the system package lists.
Step 3: Install Webmin in Ubuntu
At this point, we shall install Webmin using the APT package manager. Proceed and run the following command:
$ sudo apt install webmin
When prompted, hit 'Y' to proceed with Webmin’s installation.

The output below confirms that the Webmin installation has been successful.

Upon installation, the Webmin service starts automatically. This can be confirmed by running the command.
$ sudo systemctl status webmin

The output above confirms that Webmin is up and running.
Step 4: Open Webmin Port on Ubuntu Firewall
By default, Webmin listens on TCP port 10000. If the UFW firewall is enabled, then you need to open this port. To do so, execute the command:
$ sudo ufw allow 10000/tcp
Next, be sure to reload the firewall.
$ sudo ufw reload

Step 5: Access Webmin on Ubuntu
Finally, to access Webmin, launch your browser and browse the address:
https://server-ip:10000/
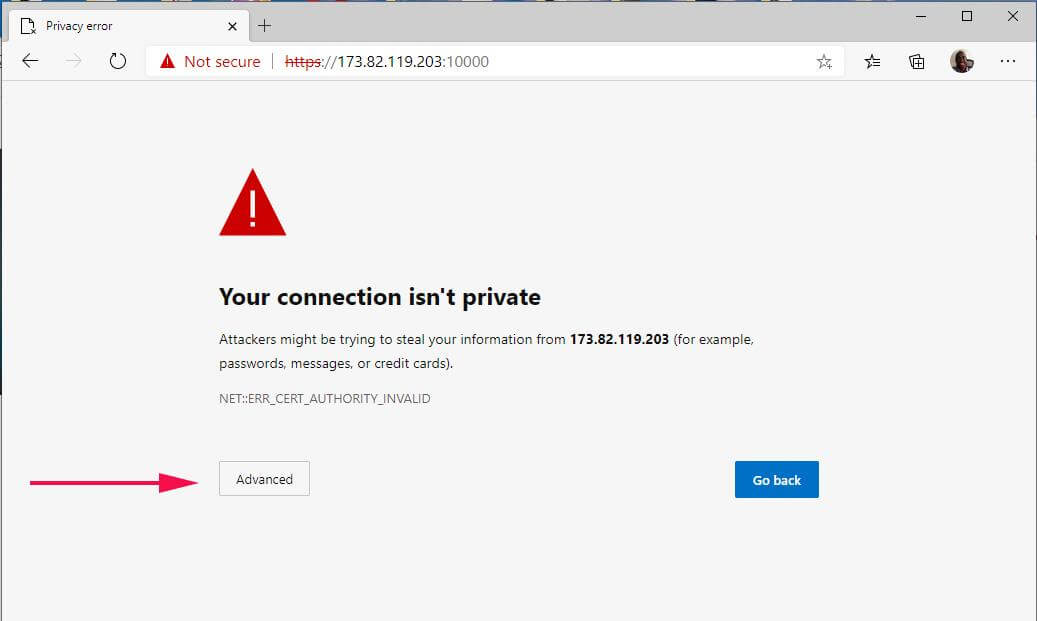
You will encounter a warning message that the connection is not private, but don’t worry. This is because Webmin comes with a self-signed SSL certificate which is not validated by CA. To navigate this warning, simply click on the ‘Advanced’ button.

Next, click on the link ‘Continue to server-IP’ as shown.

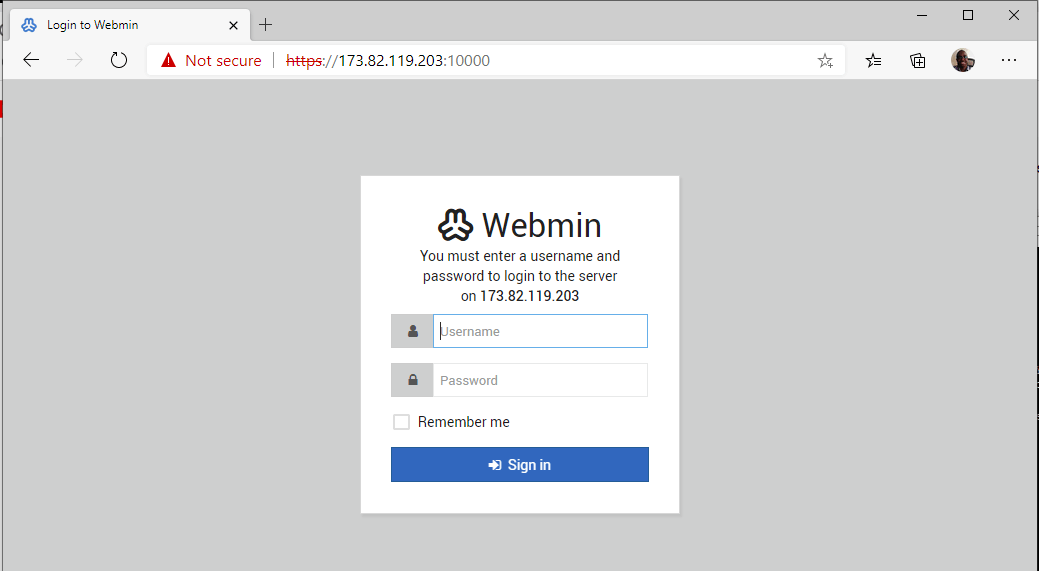
This presents you with a login page shown below. Provide your details and click the ‘Sign In’ button.

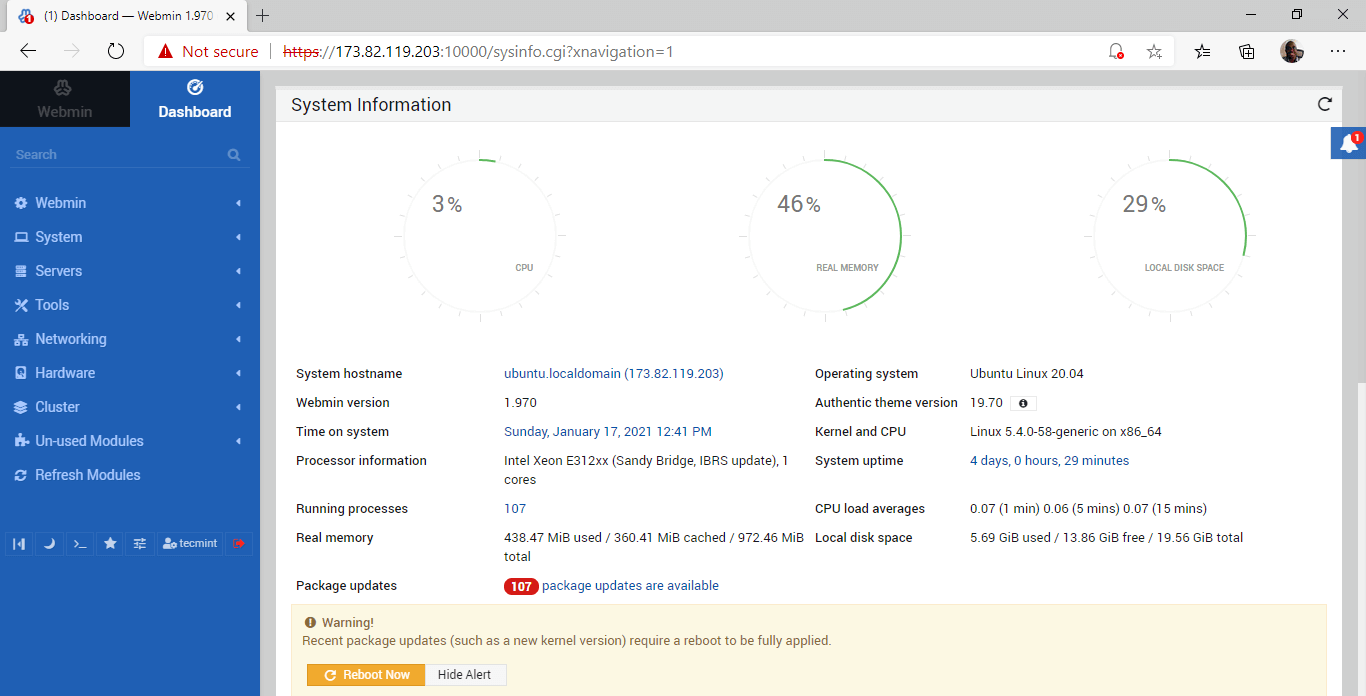
You will be presented with a dashboard shown below that gives an overview of key system metrics such as CPU & RAM utilization, as well as other system details such as hostname, Operating system, system uptime, etc.
On the left pane is a list of options that give you access to various server functionalities. From here you can perform a list of system administration tasks as discussed earlier in the introduction.

We have successfully installed Webmin on Ubuntu 20.04.
