The stable version of Ubuntu 20.04 LTS (code-named Focal Fossa) is released on April 23rd, if you are curious to know what is in it, you can now upgrade to the version of it from lower versions for testing purposes.
Just like every new Ubuntu release, Ubuntu 20.04 ships with new features including the latest and greatest software such as the Linux kernel and refreshed state-of-the-art toolchain. You can find more information about the new changes from the release notes.
Importantly, Ubuntu 20.04 LTS will be supported for 5 years until April 2025, for Ubuntu Desktop, Ubuntu Server, and Ubuntu Core.
This guide walks you through the steps to upgrade to Ubuntu 20.04 LTS from either Ubuntu 18.04 LTS or Ubuntu 19.10, both on desktop and server systems.
On this page:
Before going for the upgrade, note that:
- You never know what happens during an upgrade, so take a backup of your system (especially if it’s a testing system with important file/document/projects); you can go for a full image/snapshot or a partial backup of your system.
Installing Updates On Current Ubuntu Version
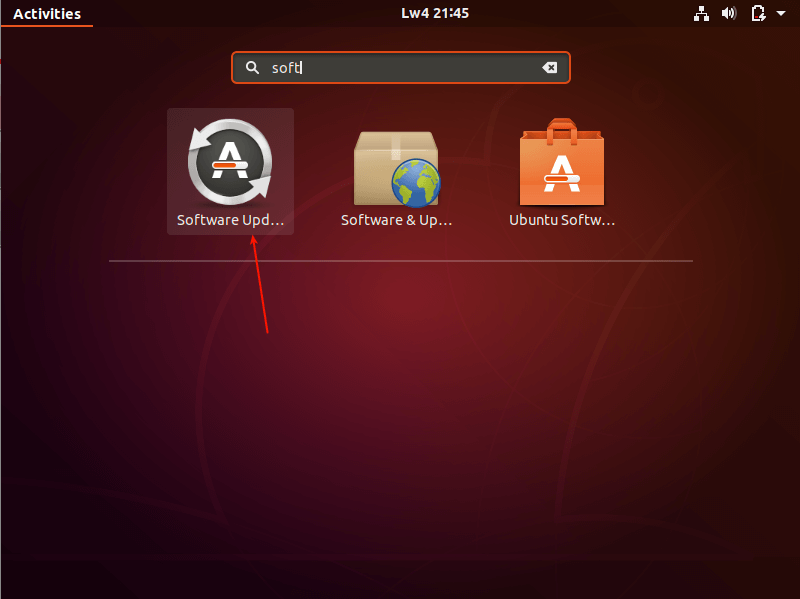
As a requirement, you need to make sure that you have installed all updates for your current version of Ubuntu before you upgrade. So search for the Software Updater setting in System Settings and open it as shown in the following screenshot.
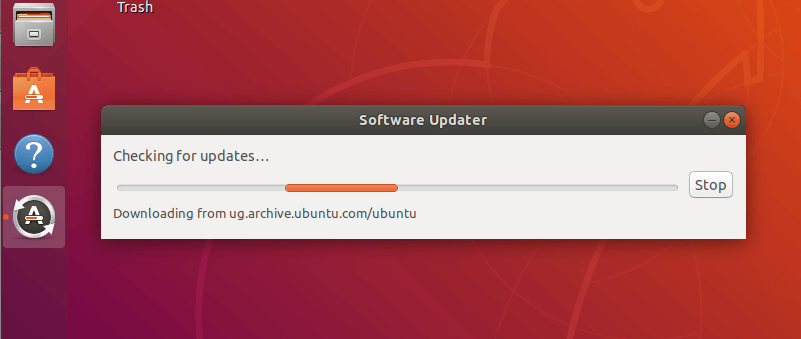
Once it has opened, allow it to check for updates as shown in the following screenshot.
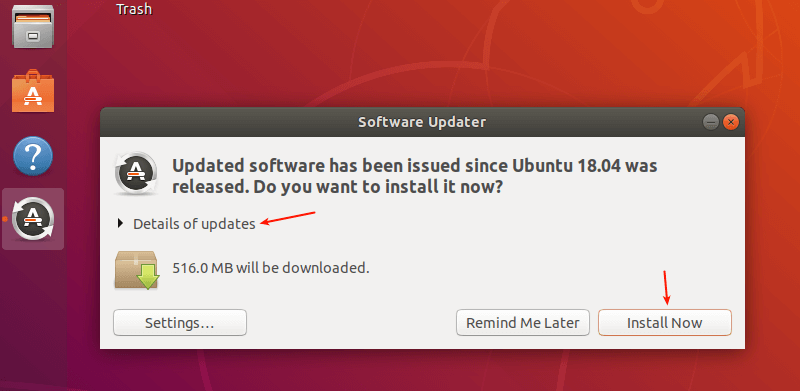
After checking for all the updates, it will show you the size of the updates. You can find more about the updates by clicking “Details of updates”. Then click Install Now.
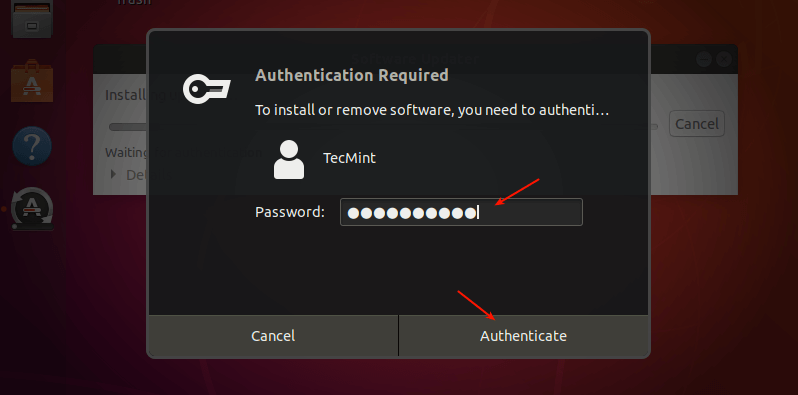
Only a user with administrative rights to use the sudo command can install software and updates. So provide your password to authenticate to start the updates installation process. Then click Authenticate.
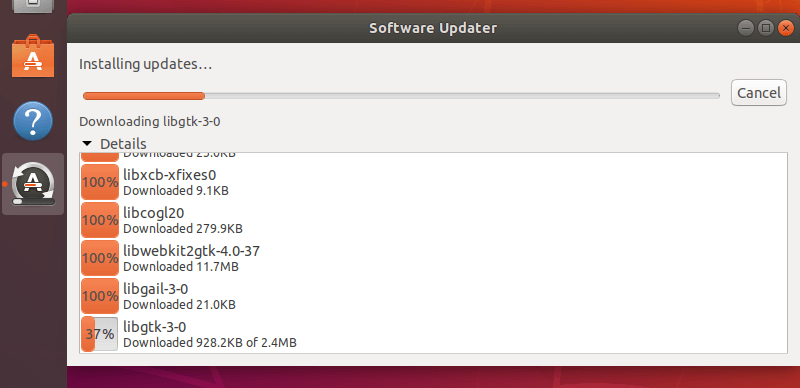
If authentication is successful, the updates installation process should start as shown in the following screenshot.
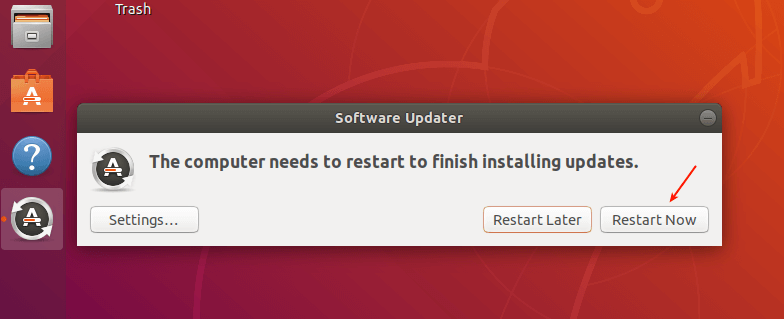
After all the updates are installed, restart the system to apply the new changes by clicking Restart Now.
Upgrading to Ubuntu 20.04 from Ubuntu 18.04 & 19.10
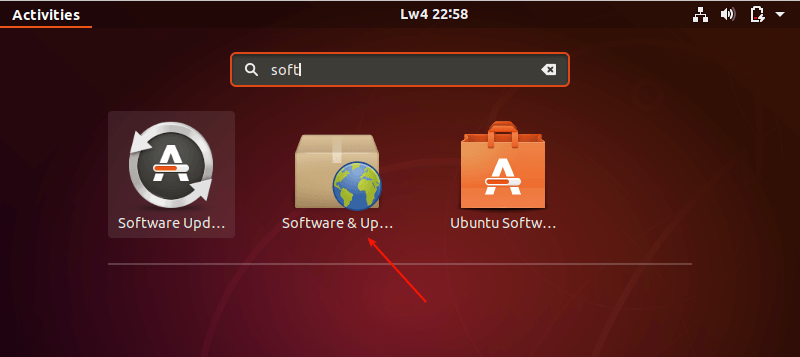
To start the upgrade process, search and open the Software & Updates setting in System Settings.
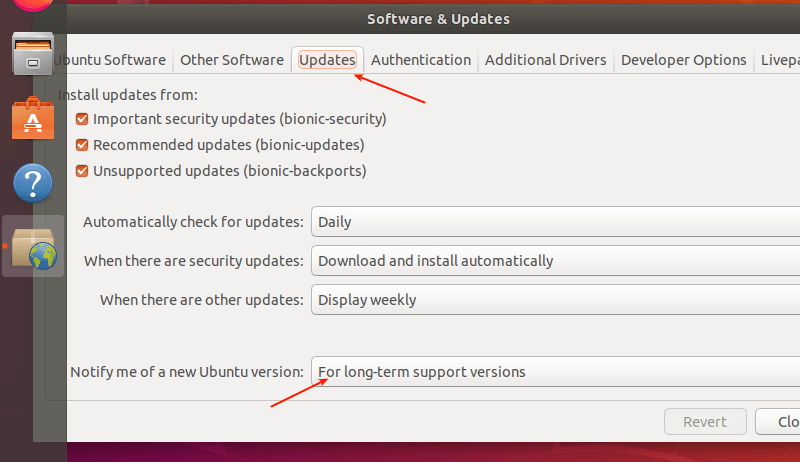
Then click on the third tab called Updates as highlighted in the following screenshot. Then set the Notify me of a new Ubuntu version setting drop-down menu to:
- For long-term support versions – if you are using 18.04 LTS.
- For any new version – if you are using 19.10.
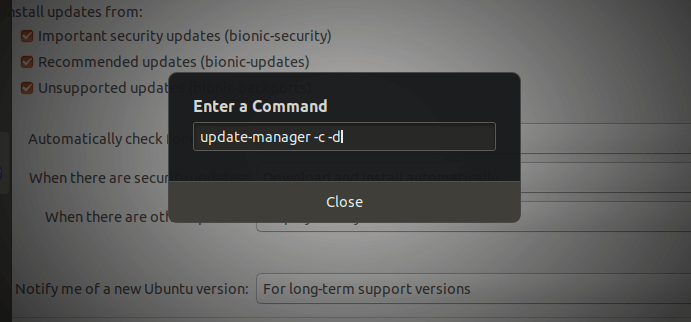
Next, press Alt+F2 and type the following command into the command box as shown in the following screenshot and press Enter.
update-manager -c -d
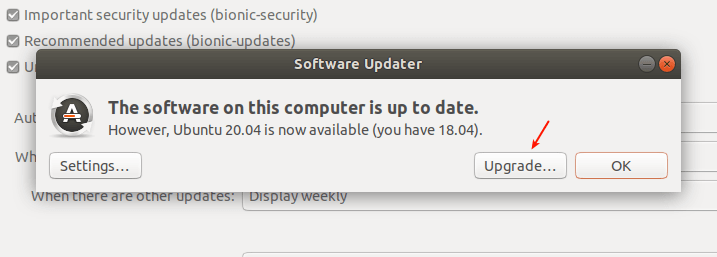
Then the Update Manager should open up and tell you that “The software on this computer is up to date. However, Ubuntu 20.04 LTS is now available (you have 18.04 or 19.10)”, as shown in the following screenshot. Click Upgrade and provide your password when prompted.
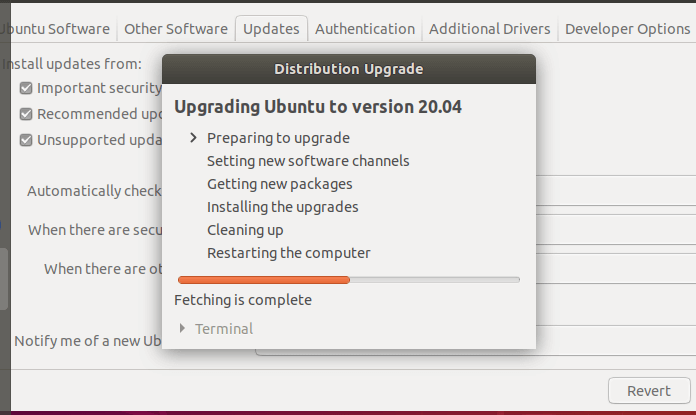
Next, read the welcome message and click Upgrade and wait for the Update Manager to download the distribution upgrade tools. It will highlight the steps for the upgrade as shown in the following screenshot.
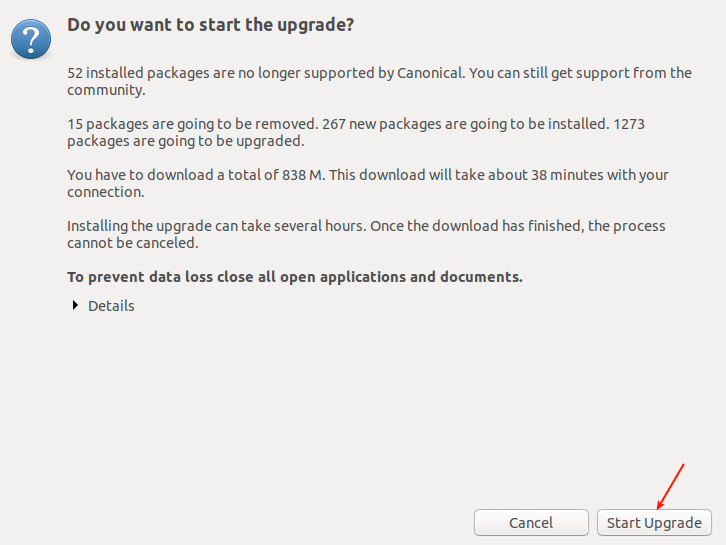
Then it will give you a summary of the upgrade process highlighting the number of packages that are installed but no longer supported, those that will be removed, the new packages that will be installed, and those that will be upgraded.
It also shows the download size and the time it will take according to the quality of your internet connection. You can view details by clicking Details. Click Start Upgrade.
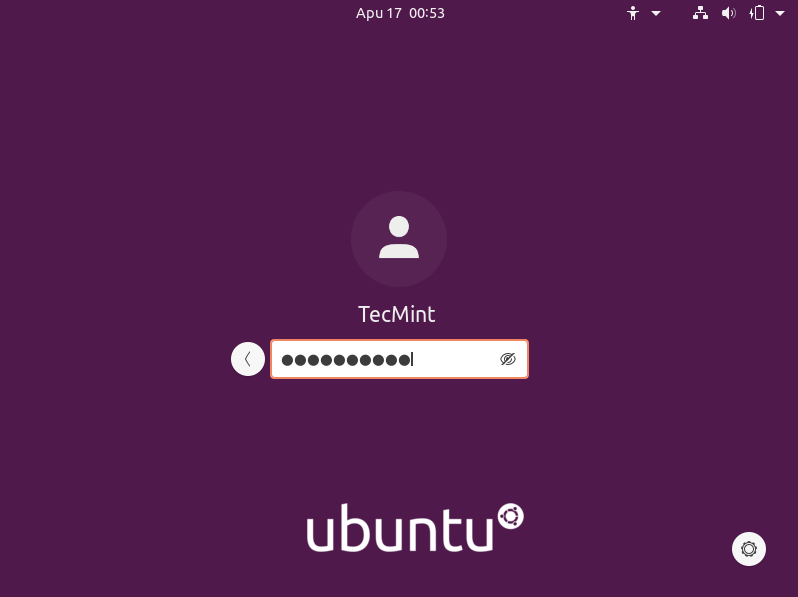
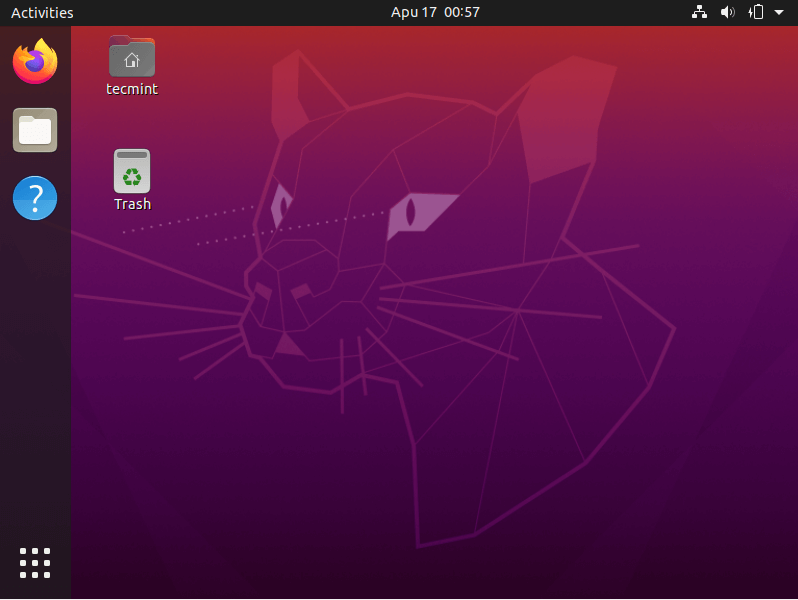
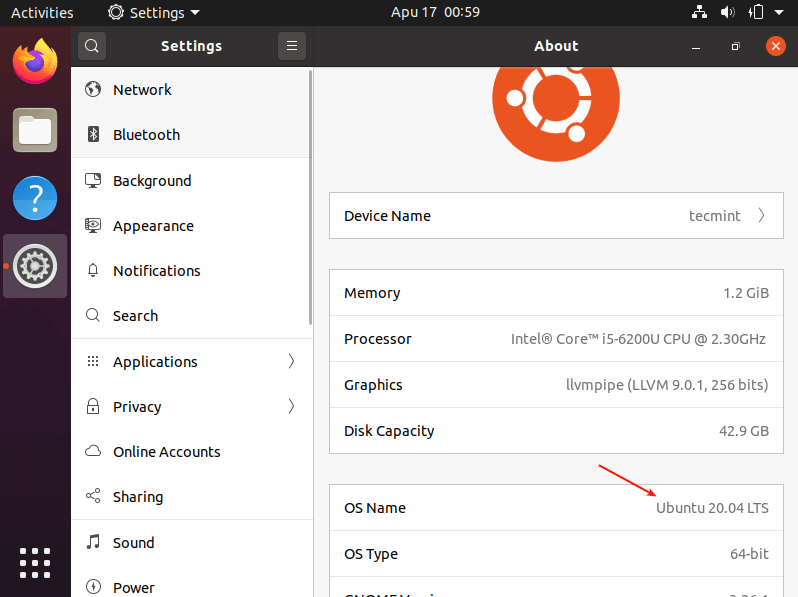
Once the upgrade is done, restart the system to apply the new changes and after a reboot, log in. To view the information about your operating system, go to Settings –> About as shown in the following screenshots.
Upgrading to Ubuntu 20.04 from Ubuntu 18.04 LTS or 19.10 Server
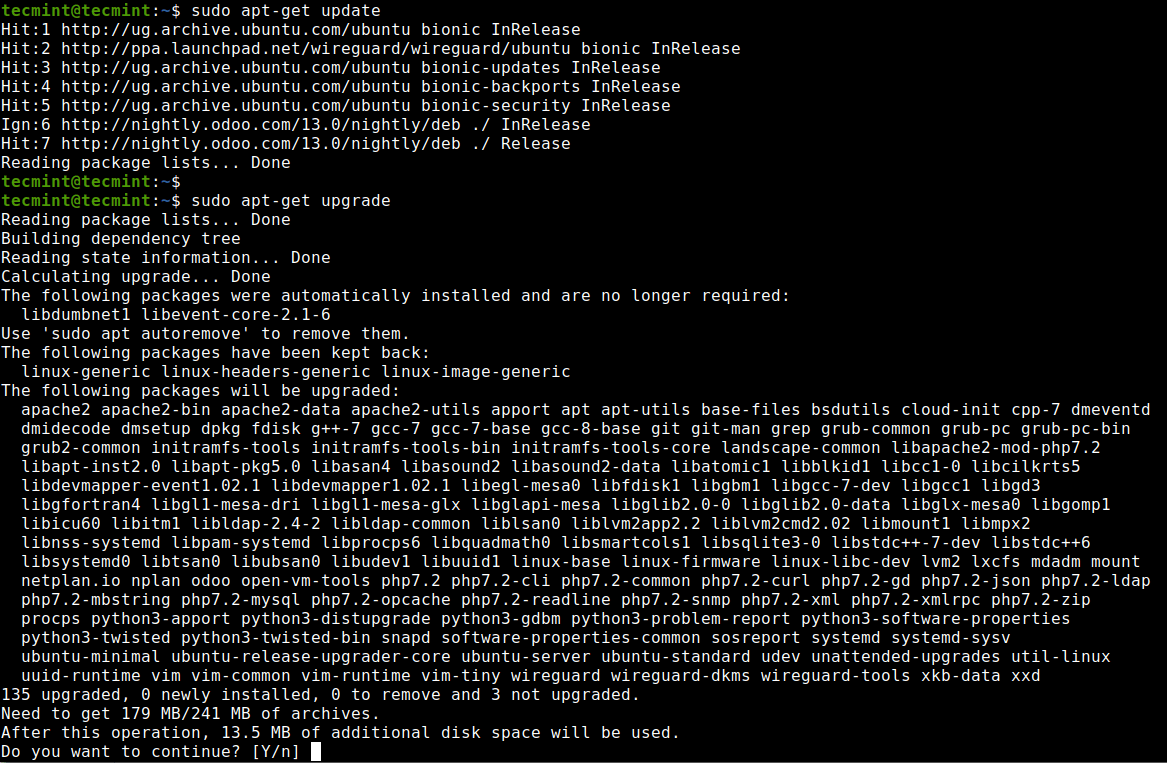
First, ensure that your system is up to date by running the following commands.
$ sudo apt-get update
$ sudo apt-get upgrade -y
OR
$ sudo apt-get dist-upgrade -y
Once all updates are installed (when the system is up to date), reboot your system to apply them. Then run the following command to install update-manager-core package if it is not already installed.
$ sudo update-manager-core
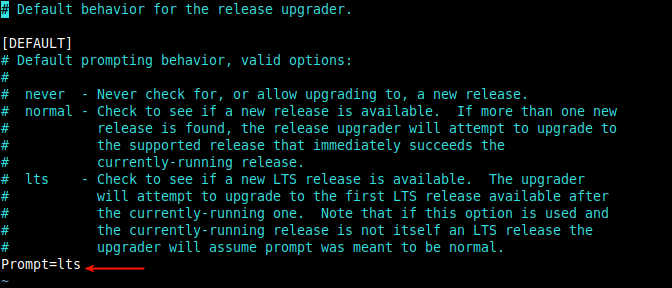
Then ensure that the Prompt directive in /etc/update-manager/release-upgrades configuration file is set to ‘lts' if you only want LTS upgrades (for Ubuntu 18.04 users) or to 'normal' if you want non-LTS upgrades (for Ubuntu 19.10 users).
$ sudo vi /etc/update-manager/release-upgrades
Now launch the upgrade tool with the following command.
$ sudo do-release-upgrade -d
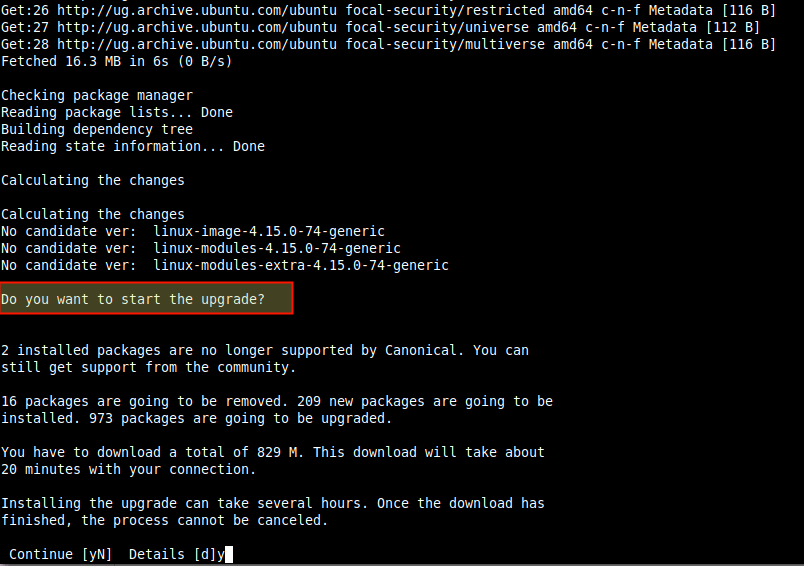
The above command will read the package list and disable third-party entries in the sources.list file. It will also calculate the changes then prompt you to start the upgrade and show you the number of packages that are currently installed but no longer supported, those that will be removed, the new packages that will be installed and those that will be upgraded as well as the download size and the time it will take according to the quality of your internet connection.
Answer y for yes to continue.
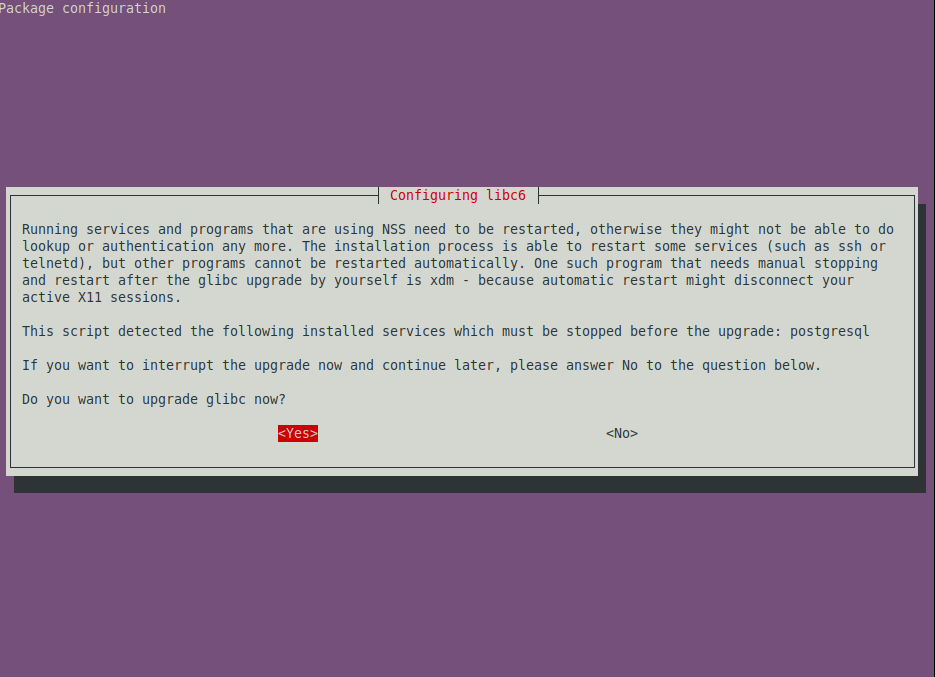
Then follow the on-screen instructions. Note that during the upgrade process, you will be prompted to manually configure some packages or choose options to use via a prompt.
The following screenshot shows an example. Read the messages carefully before making choices.
Please follow the on-screen keyboards carefully. Once the upgrade is complete, you need to restart the server as shown in the following screenshot.
After a restart, login and run the following command to check the current Ubuntu version on your server.
There you go! We hope you have successfully upgraded your Ubuntu version from 18.04 or 19.10 to 20.04. If you encountered any issues along the way or have thoughts to share, use the feedback form below to reach us.

